
Upgrade
When upgrading to the latest version, it's crucial to follow the correct procedure. Ensure to adhere to the specified steps for upgrading from your current version:
Before initiating an upgrade, it is strongly advised to create backups of both the filesystem and database. This precautionary measure ensures that in the event of any unexpected issues during the upgrade process, you can revert to a stable state using the backed-up data.
Upgrade from 3.0 and higher
This can be done easily by doing the following steps:
Download the latest version Go to the Apps for Tableau Enterprise Portal and download the latest version of MailScheduler.
Backup files and database Create a backup of the MailScheduler folder on your server. Also create a backup of your (repository or default) database.
Go to the folder were the MailScheduler.exe is located.
Open the MailScheduler.exe file with administrator privileges
Click the
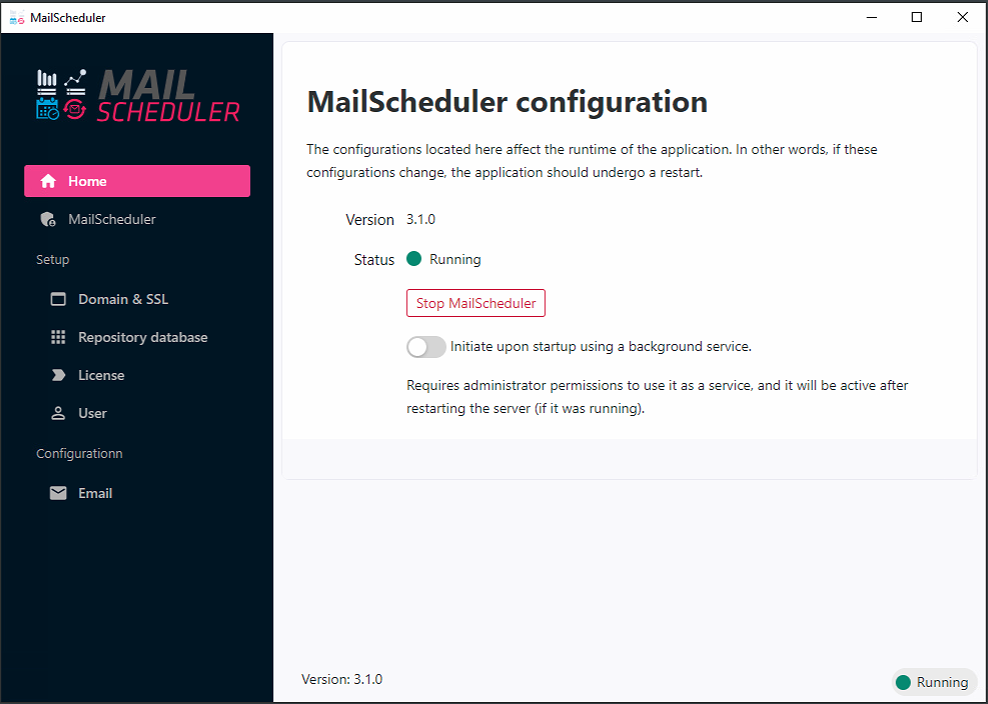
Open configurationbuttonClick the red
StopMailScheduler button
Close the window
Unzip the zip file that is downloaded in step 1
Override the original MailScheduler.exe with the extracted one
Open the MailScheduler.exe file with administrator privileges
MailScheduler will automatically start. It could take some additional time to start since because of running updates on the first run.
Done!
You can verify the latest version with changes in the management console.
Upload the zip file to /usr/local/share/mailscheduler
Stop the service by running
/usr/local/share/mailscheduler/mailscheduler-amd64 service stopExtract the zip file.
Restart the service
sudo /usr/local/share/mailscheduler/mailscheduler-amd64 service start
Done!
Open the browser and navigate to the application to verify if the service is up and running.
Last updated
Was this helpful?