Schedules
Schedules
Schedules determine when tasks are triggered, tasks determine what is sent and to whom it is sent. Sending out an email starts with configuration of the Schedule, followed by the underlaying Tasks. Before being able to create a schedule, the following resources must be configured (see relevant chapters):
A Server
A Token
A Site
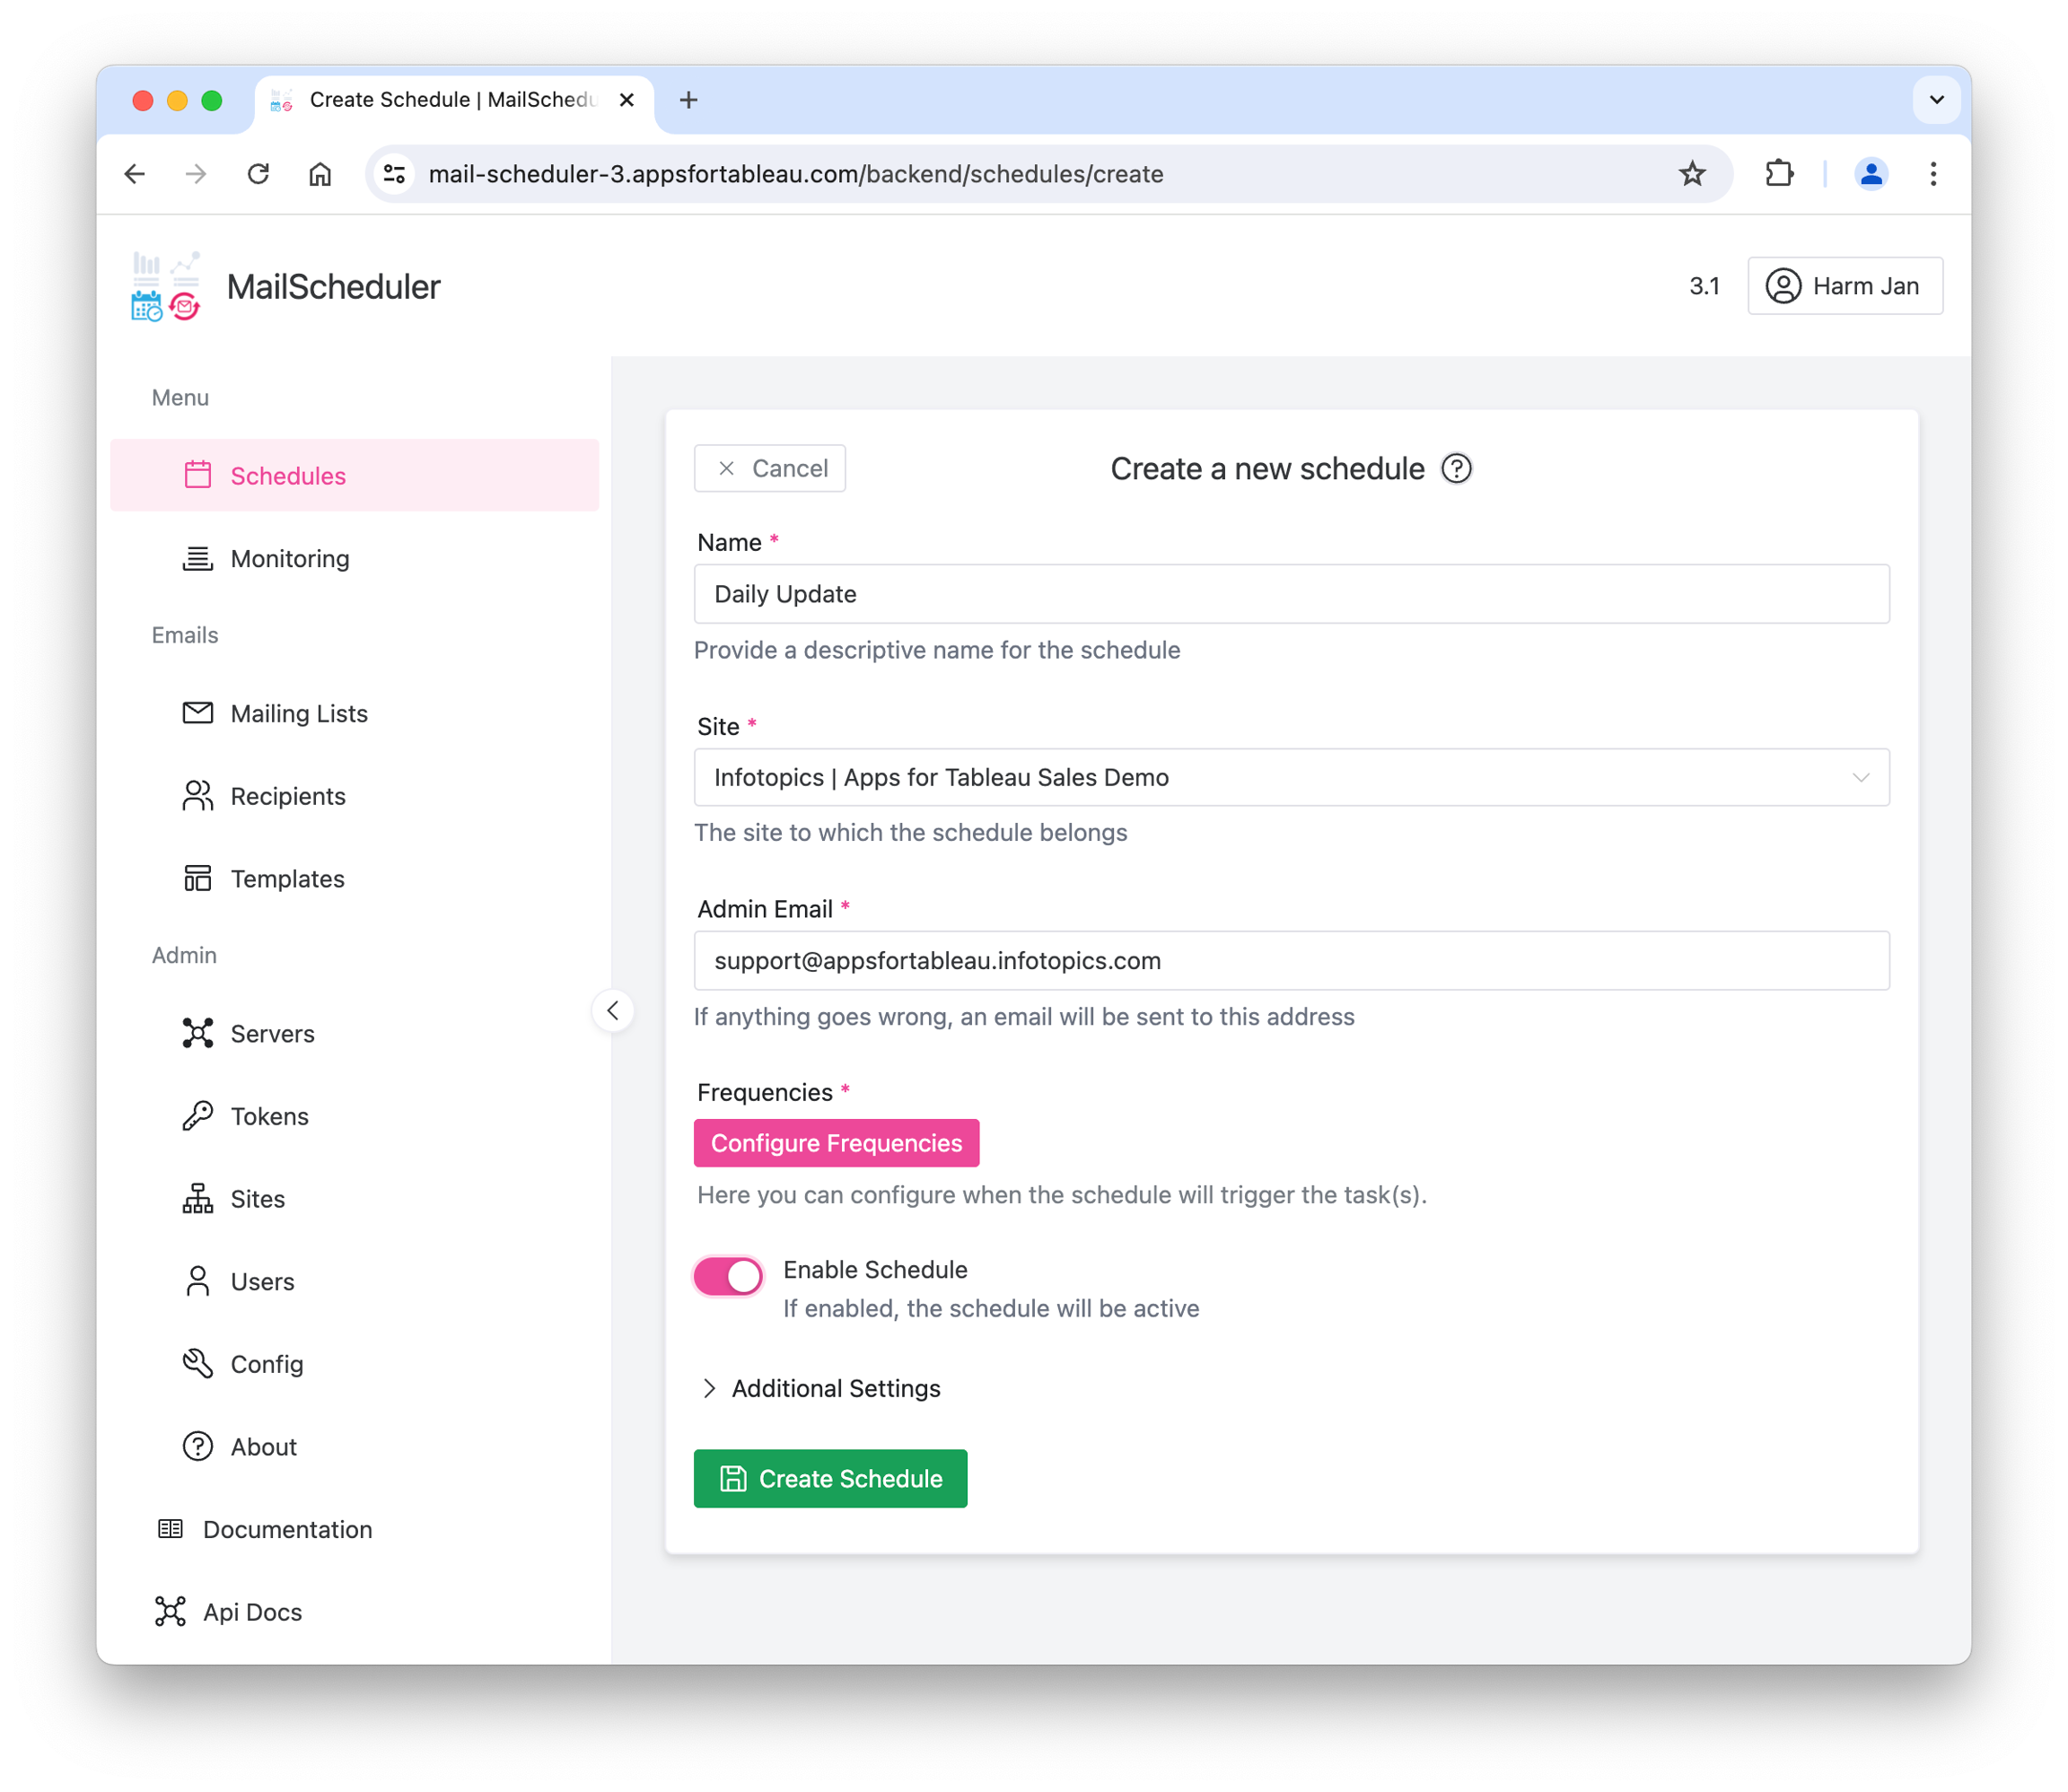
Adding Tasks can only be done after the Schedule has been created and saved. In the Schedule overview, navigate to the newly created Schedule to add Tasks.
Frequencies
The frequency determines when the schedule will trigger its tasks. There are several options:
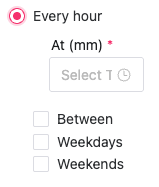
Hourly: Specify the time at which the schedule will trigger each hour, between what hours each day and if it should be triggered on weekdays, weekends or both
On days of the week: Once per day at a specified time, the schedule will trigger. Which days of the week can be specified aswel.
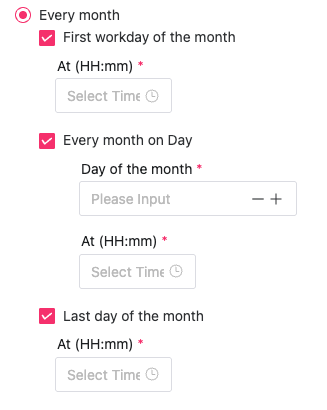
Every Month: once per month, on a specified day or on the first workday of the month, the schedule will trigger. Specify the time of day aswel.
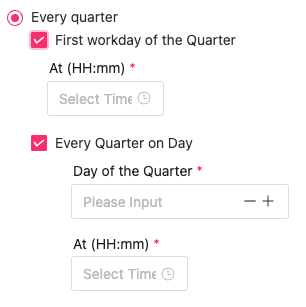
Every Quarter: once per quarter, on a specified day or on the first workday of the quarter, the schedule will trigger. Specify the time of day aswel.
Using Cron expressions:You can use, for example, the following expression:
For more information, or learn about cron expressions, please refer to the Crontab Guru website.
Export/Import of Tasks
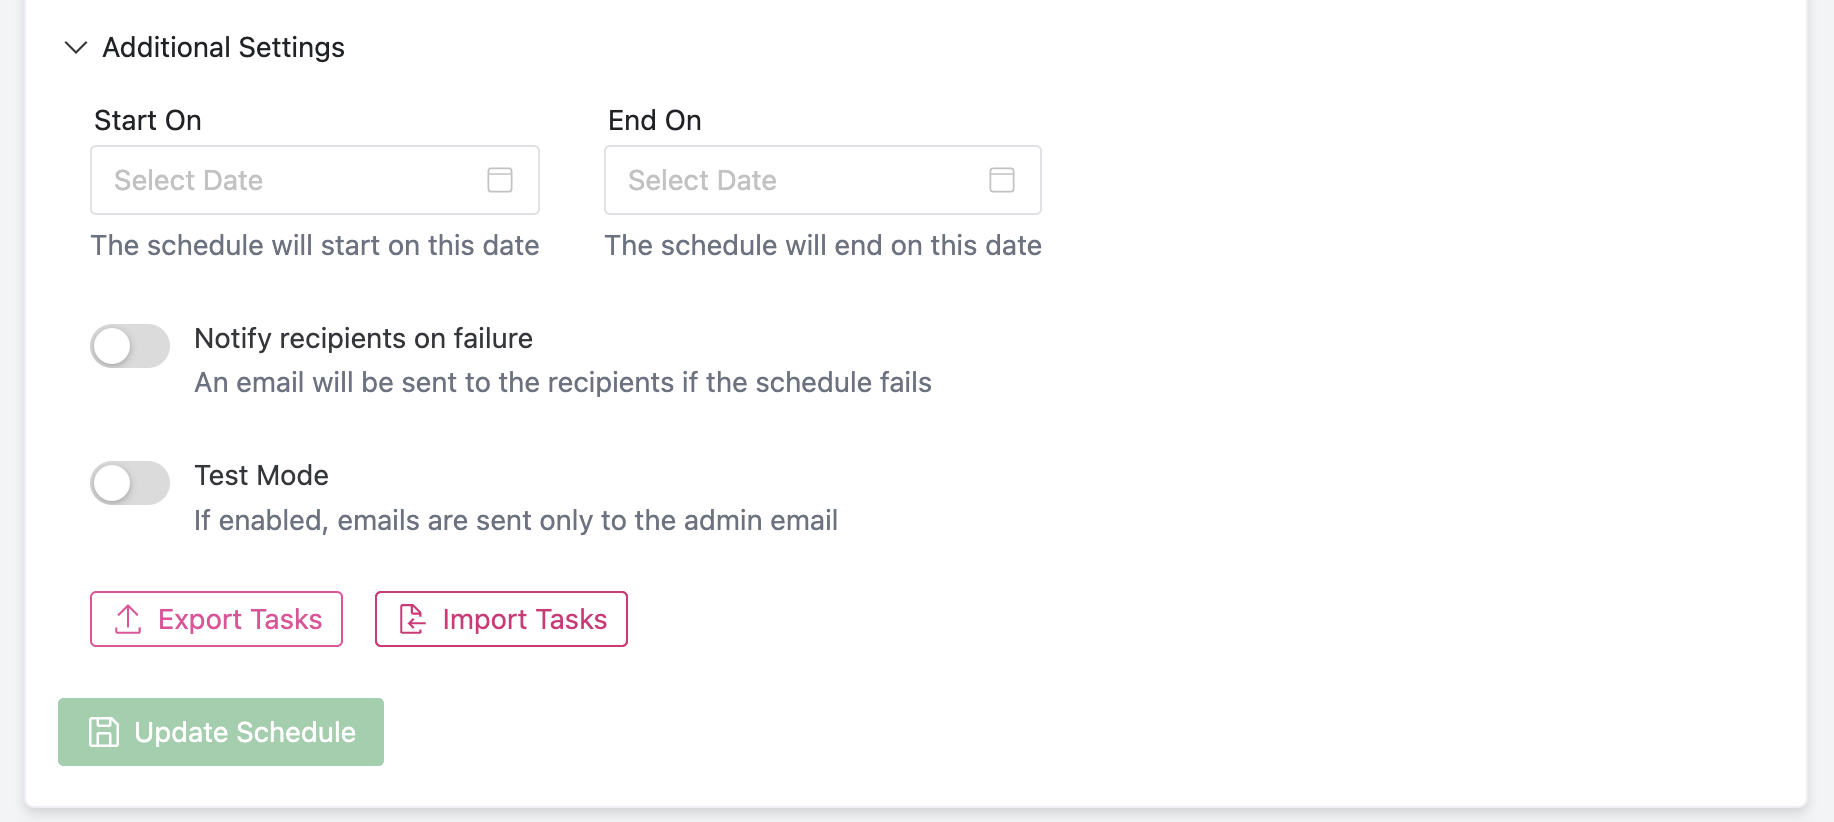
Tasks can be imported and exported to or from a schedule under “additional settings”. Exporting results in a CSV file that can be edited and reimported to the same or a new schedule.
Edit Tasks in CSV
To edit an existing task, leave the task_id in place. To create a new task, Leave it empty to create a single view in a task. When using multiple views in one task, please give it a fake id that does not yet exist in the database.

Task_id, task_name, filename, emails, mailing_lists, and save are settings that apply to one task. So multiple views within the same task should be similar. Otherwise, the MailScheduler will take the final row into account.
The view_id will be empty for new tasks. To update an existing view, leave the id the same. We recommend using each view in only 1 task and do not reuse a view. By filling the view_url (case sensitive!), the MailScheduler will search for the exact name match on your Tableau. You can put filtering queries in the query column, and multiple export types are supported: pdf-v, xls, csv, image.
When you are done editing the CSV file, import it again. Select choose file, select the CSV file, and hit upload.
Was this helpful?
