
Filtering
It's important to note that the MailScheduler typically uses at least one service account's (usually an admin) Personal Access Token (PAT) of that Site. As a result, specific features, such as personal views or some form of login based RLS, are not feasible with this configuration. With MailScheduler you can however send individually filtered dashboards by using filters.
Filtering in the task
The MailScheduler provides a complete filtering mechanism with personalisation options. You can specify a filter at multiple places within the task. Filtering can be done on multiple levels, at various stages of your MailScheduler configuration, and in the Dashboard itself by setting your workbook filter to “All unselected.” It's important to note that filters are case-sensitive, so attention to detail is critical.
Caution: When no filter is applied, all data from the dashboard will be visible.
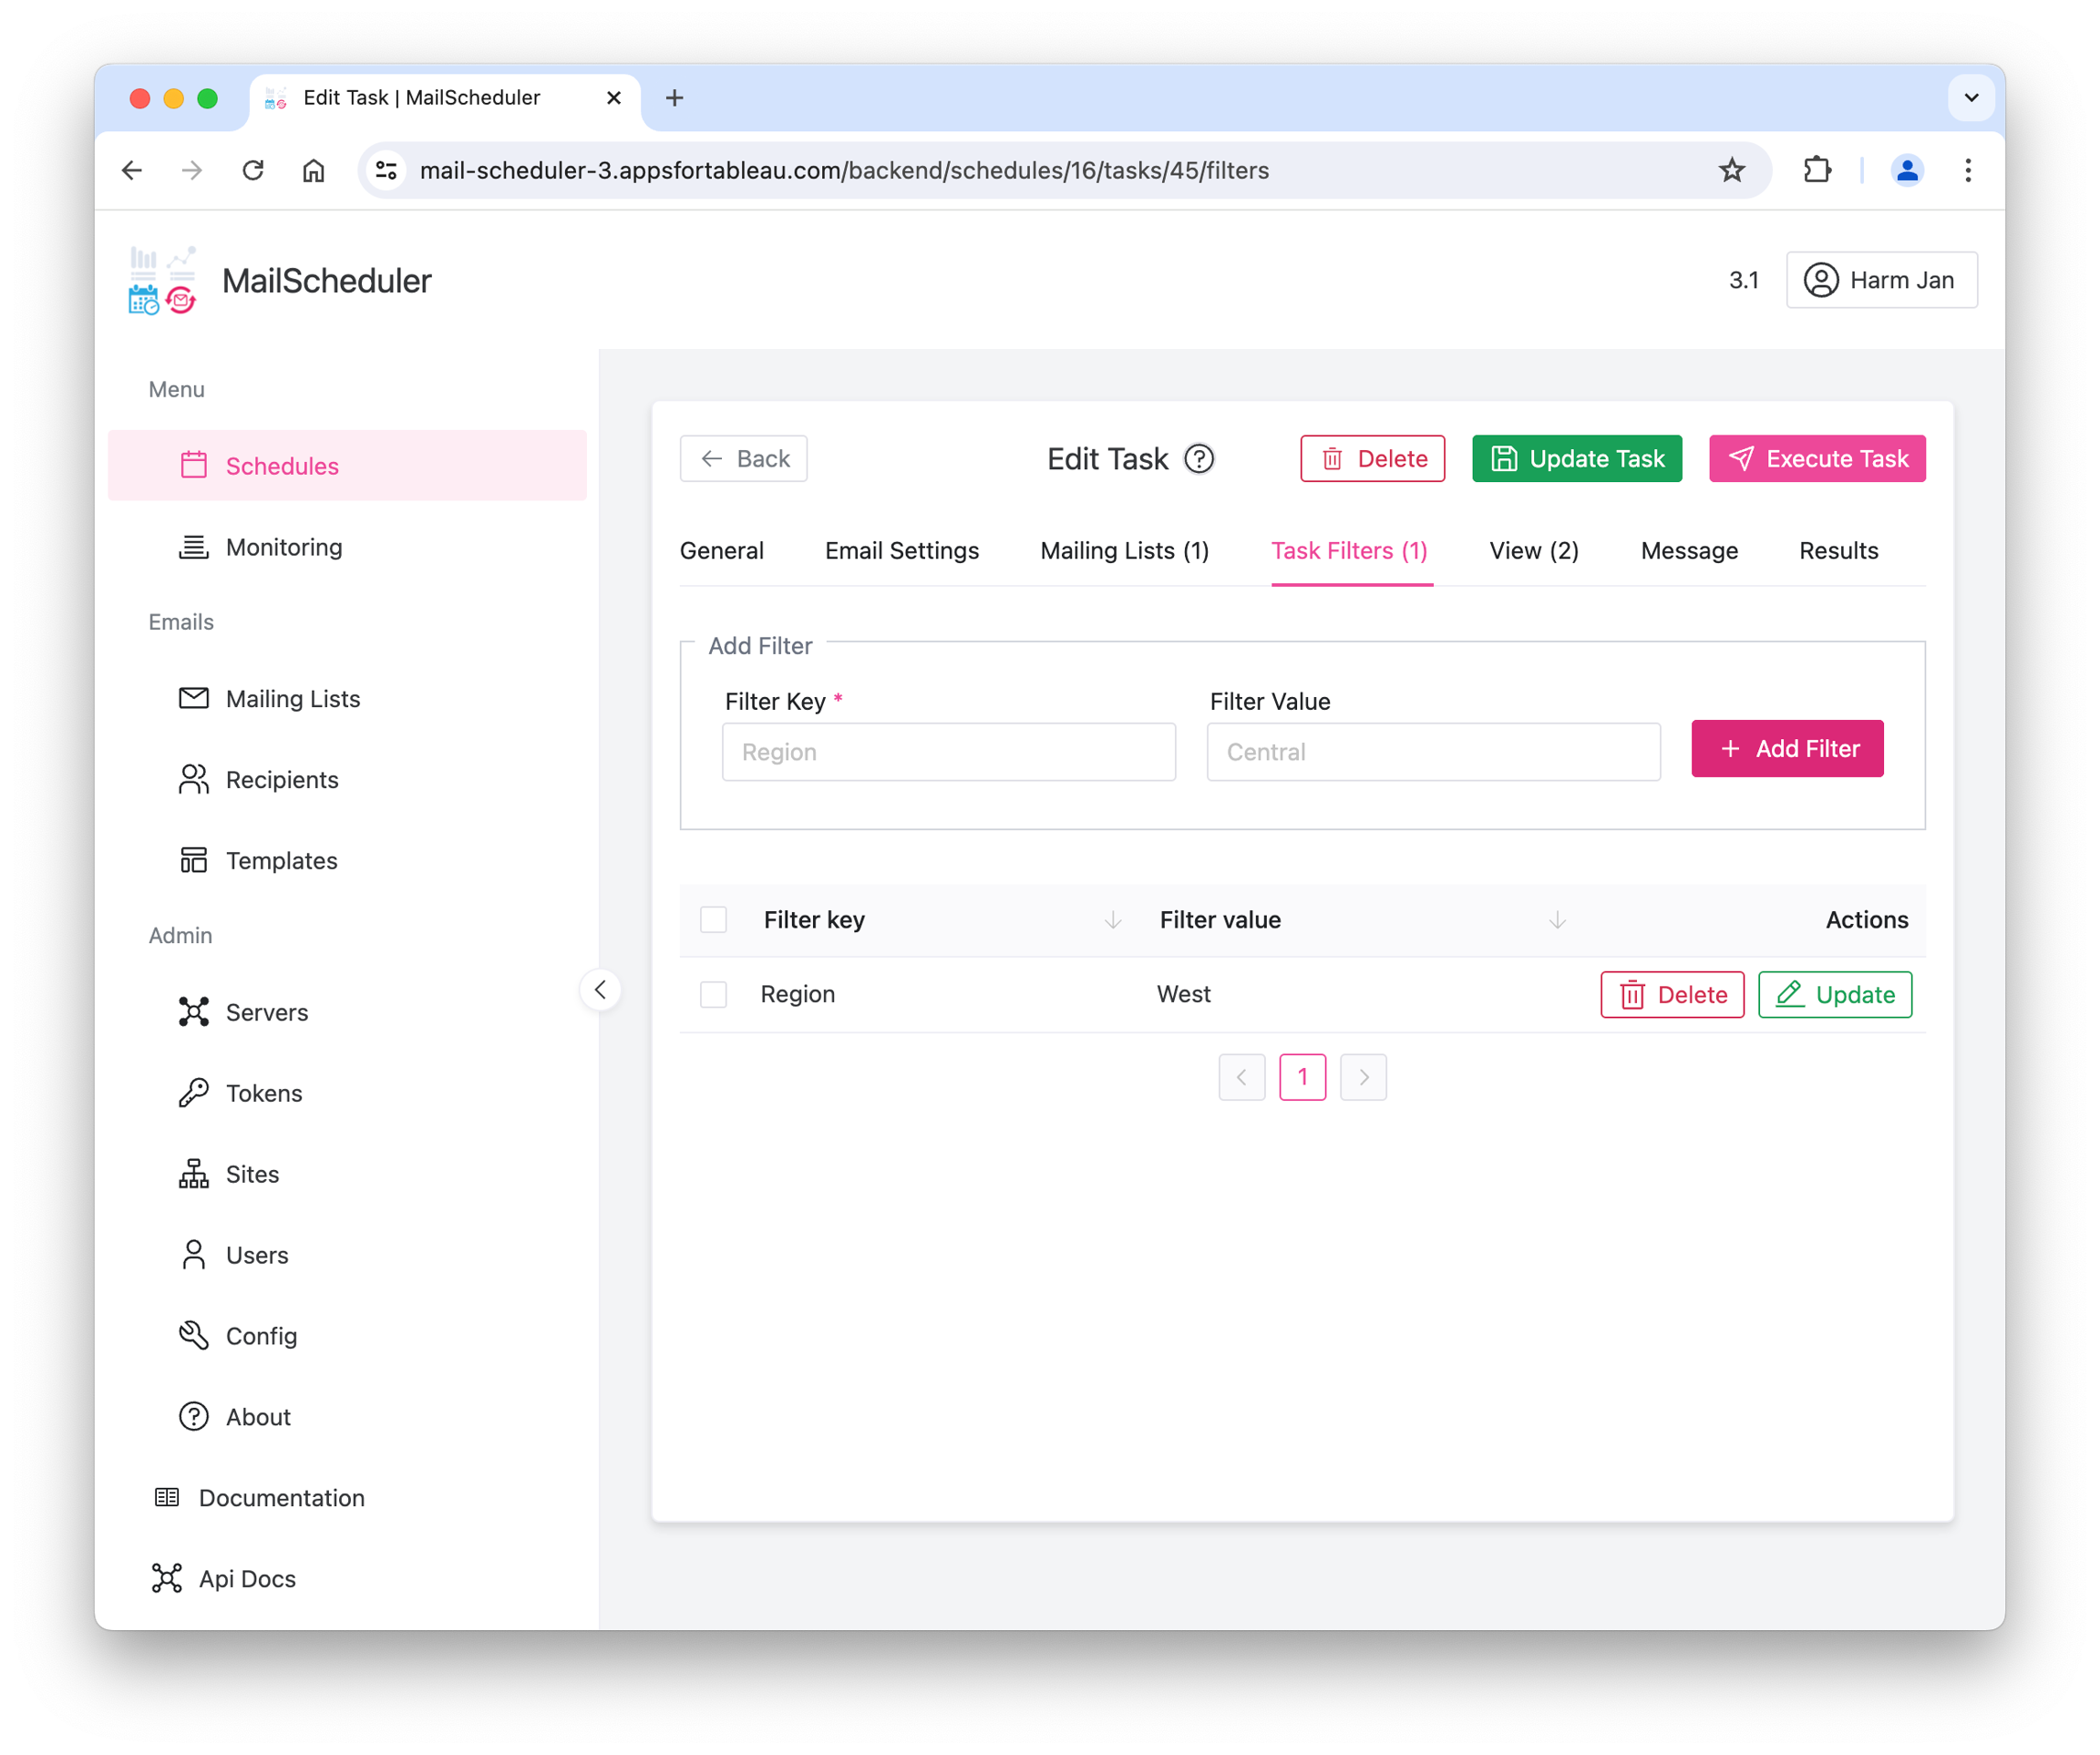
Task-wide filtering
A task can be filtered. You can just use a filter here to apply a filter to the whole task.
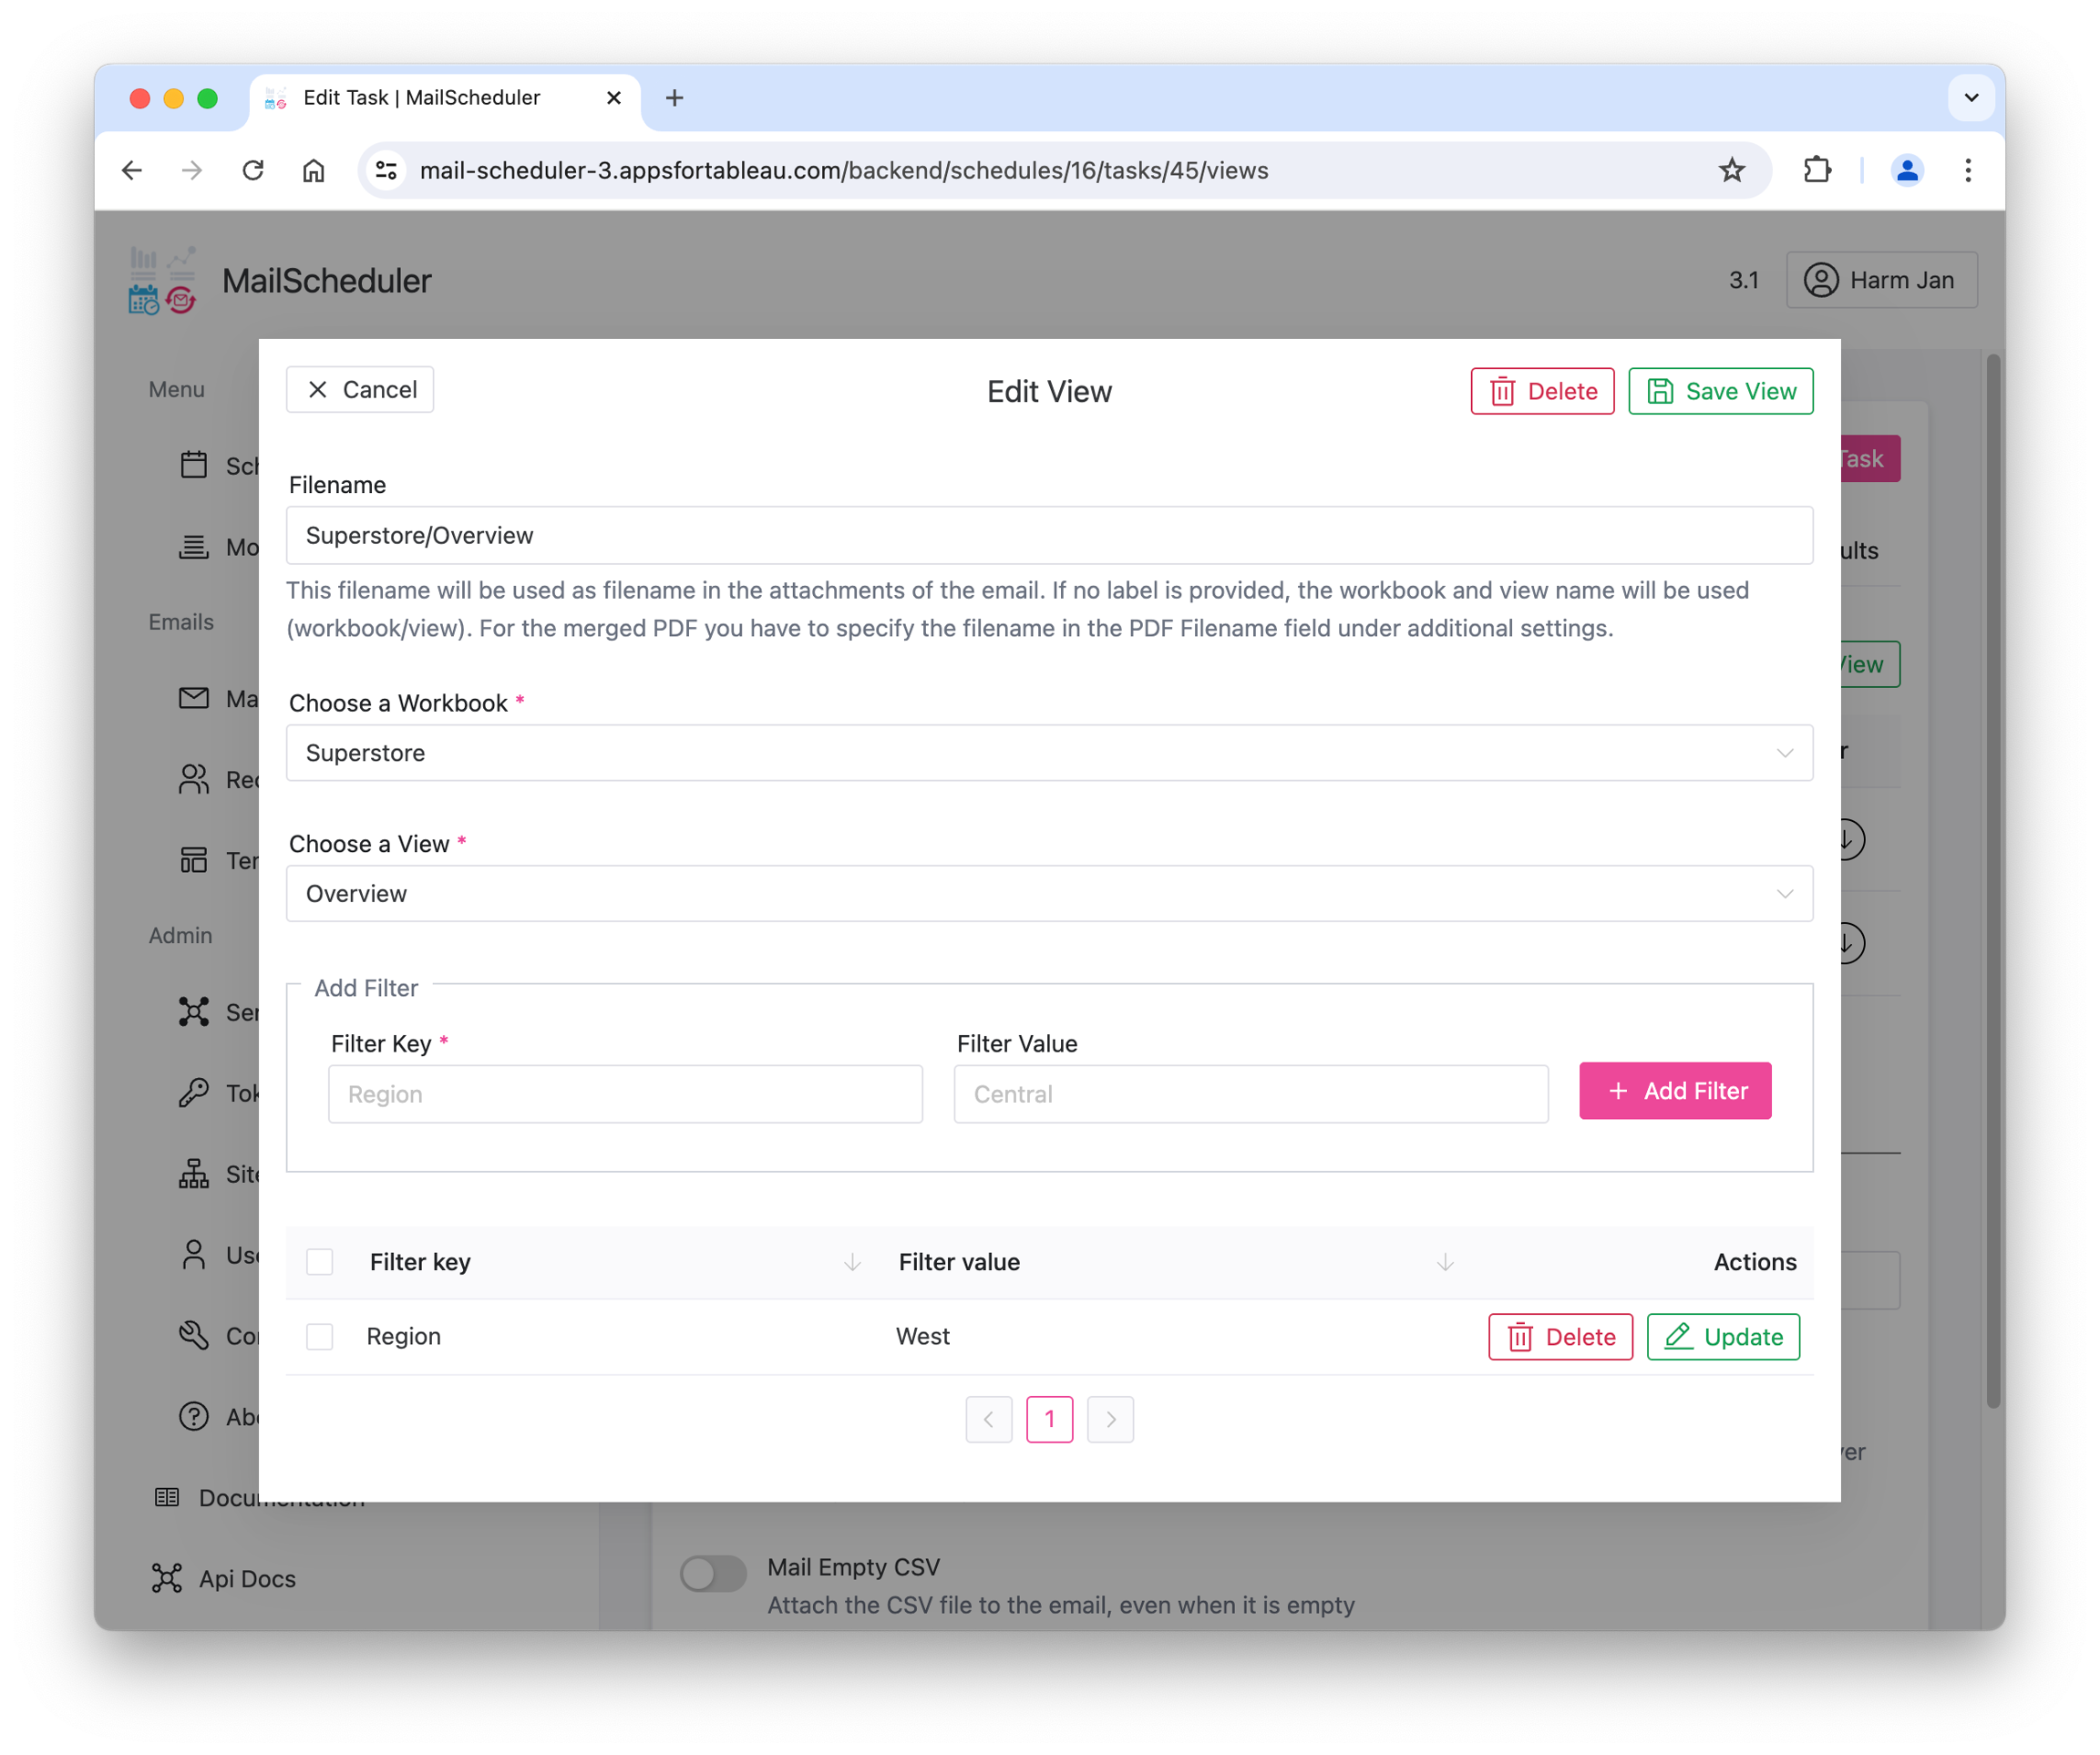
Filtering per View
A filter can be applied at the view level. Please specify here if you'd like the filter to be used only on this view.
Personal filtering
A recipient can have specific filter values attached to it. This filter will apply when a Task or View specifies a Filter Key corresponding to the recipient's Filter Key while leaving out the Filter Value.
Examples
If you want to filter a complete task for the region west, set the filter in the task filter tab to:
Region = West
If you want to filter a view for a particular category, add a filter to the view in the edit view modal:
Category = Furniture
Only add the key for personal filtering on either the task or view. Please just leave the value empty.
Region =
If you want to check for multiple values, use comma-separated values:
City = New York, San Fransisco
To use a parameter to set a filter value in your Dashboard, use:
Parameters.week_number = 40
If you want to use multiple comma separated values in a parameter, you should use the "\," or "%5c%2c" in the value.
Parameters.week_numbers = 40\,50
Parameters.week_numbers = 40%5c%2c50
Last updated
Was this helpful?