Tasks
A schedule can consist of multiple tasks. We already know when to send it, now we need to specify what to send in the email. Tasks consist of the email settings, content, recipients, and Tableau views and filters.

Create a new task
The steps to create a new task are described below. Detailed information is available through the “?” symbol in the application.

Email Settings
The subject line of a an email can contain the date using the following format: {YYYY-MM-DD hh:mm:ss}. It also allows placeholders. Example: "Daily Update {YYYY-MM-DD} {CITY}". Note: when lines are left empty, they will be pulled from the .env file used by MailScheduler.

Mailing Lists
Add recipients for the task, either through mailing lists or separately with email addresses. Using this last option only adds the email to this specific task without saving it as a recipient or as part of a mailinglist. For advanced configuration such as recipient or mailinglist filters, instead add the recipient to a mailinglist.
External messaging
After setting up the Teams or Slack configuration inUsing external messaging, you can choose your recipients per task here.
For Teams, first select a Team, which holds the channels and personal chats you want to send to. This can take a minute to load. Then, choose the channels and chats that you want to send to, and press 'Update Selected Recipients'.
For Slack, select the channels that you want to send to, and press 'Update Selected Channels'. If you are missing a channel, you can select it in the lower dropdown, and press 'Add Bot to channel', to give it the permissions it needs within Slack.

Views
A Task consists of views and an email body (message). A task can only access views from workbooks within the site that is associated with the Schedule the task is part of.

Select the workbook and view to be added to the task. For more information on applying filters in a View, see the Filters section of the guide. By selecting the checkbox, the corresponding export format is attached to the mail. By default, all PDFs that are exported will be merged before they are attached, with the order of views from top to bottom being used to determine the order for the PDF. You can edit and delete the view by clicking the buttons in front of the view.
You can change a setting for all views by clicking the buttons in the header. 'Viz Width' and 'Viz Height' can usually be left to 'auto', but if a view is not wide enough or not high enough, you can change these variables to a value that produces a correct export, which you can test by senidng test emails. The number entered corresponds to the amount of pixels for the visualization.
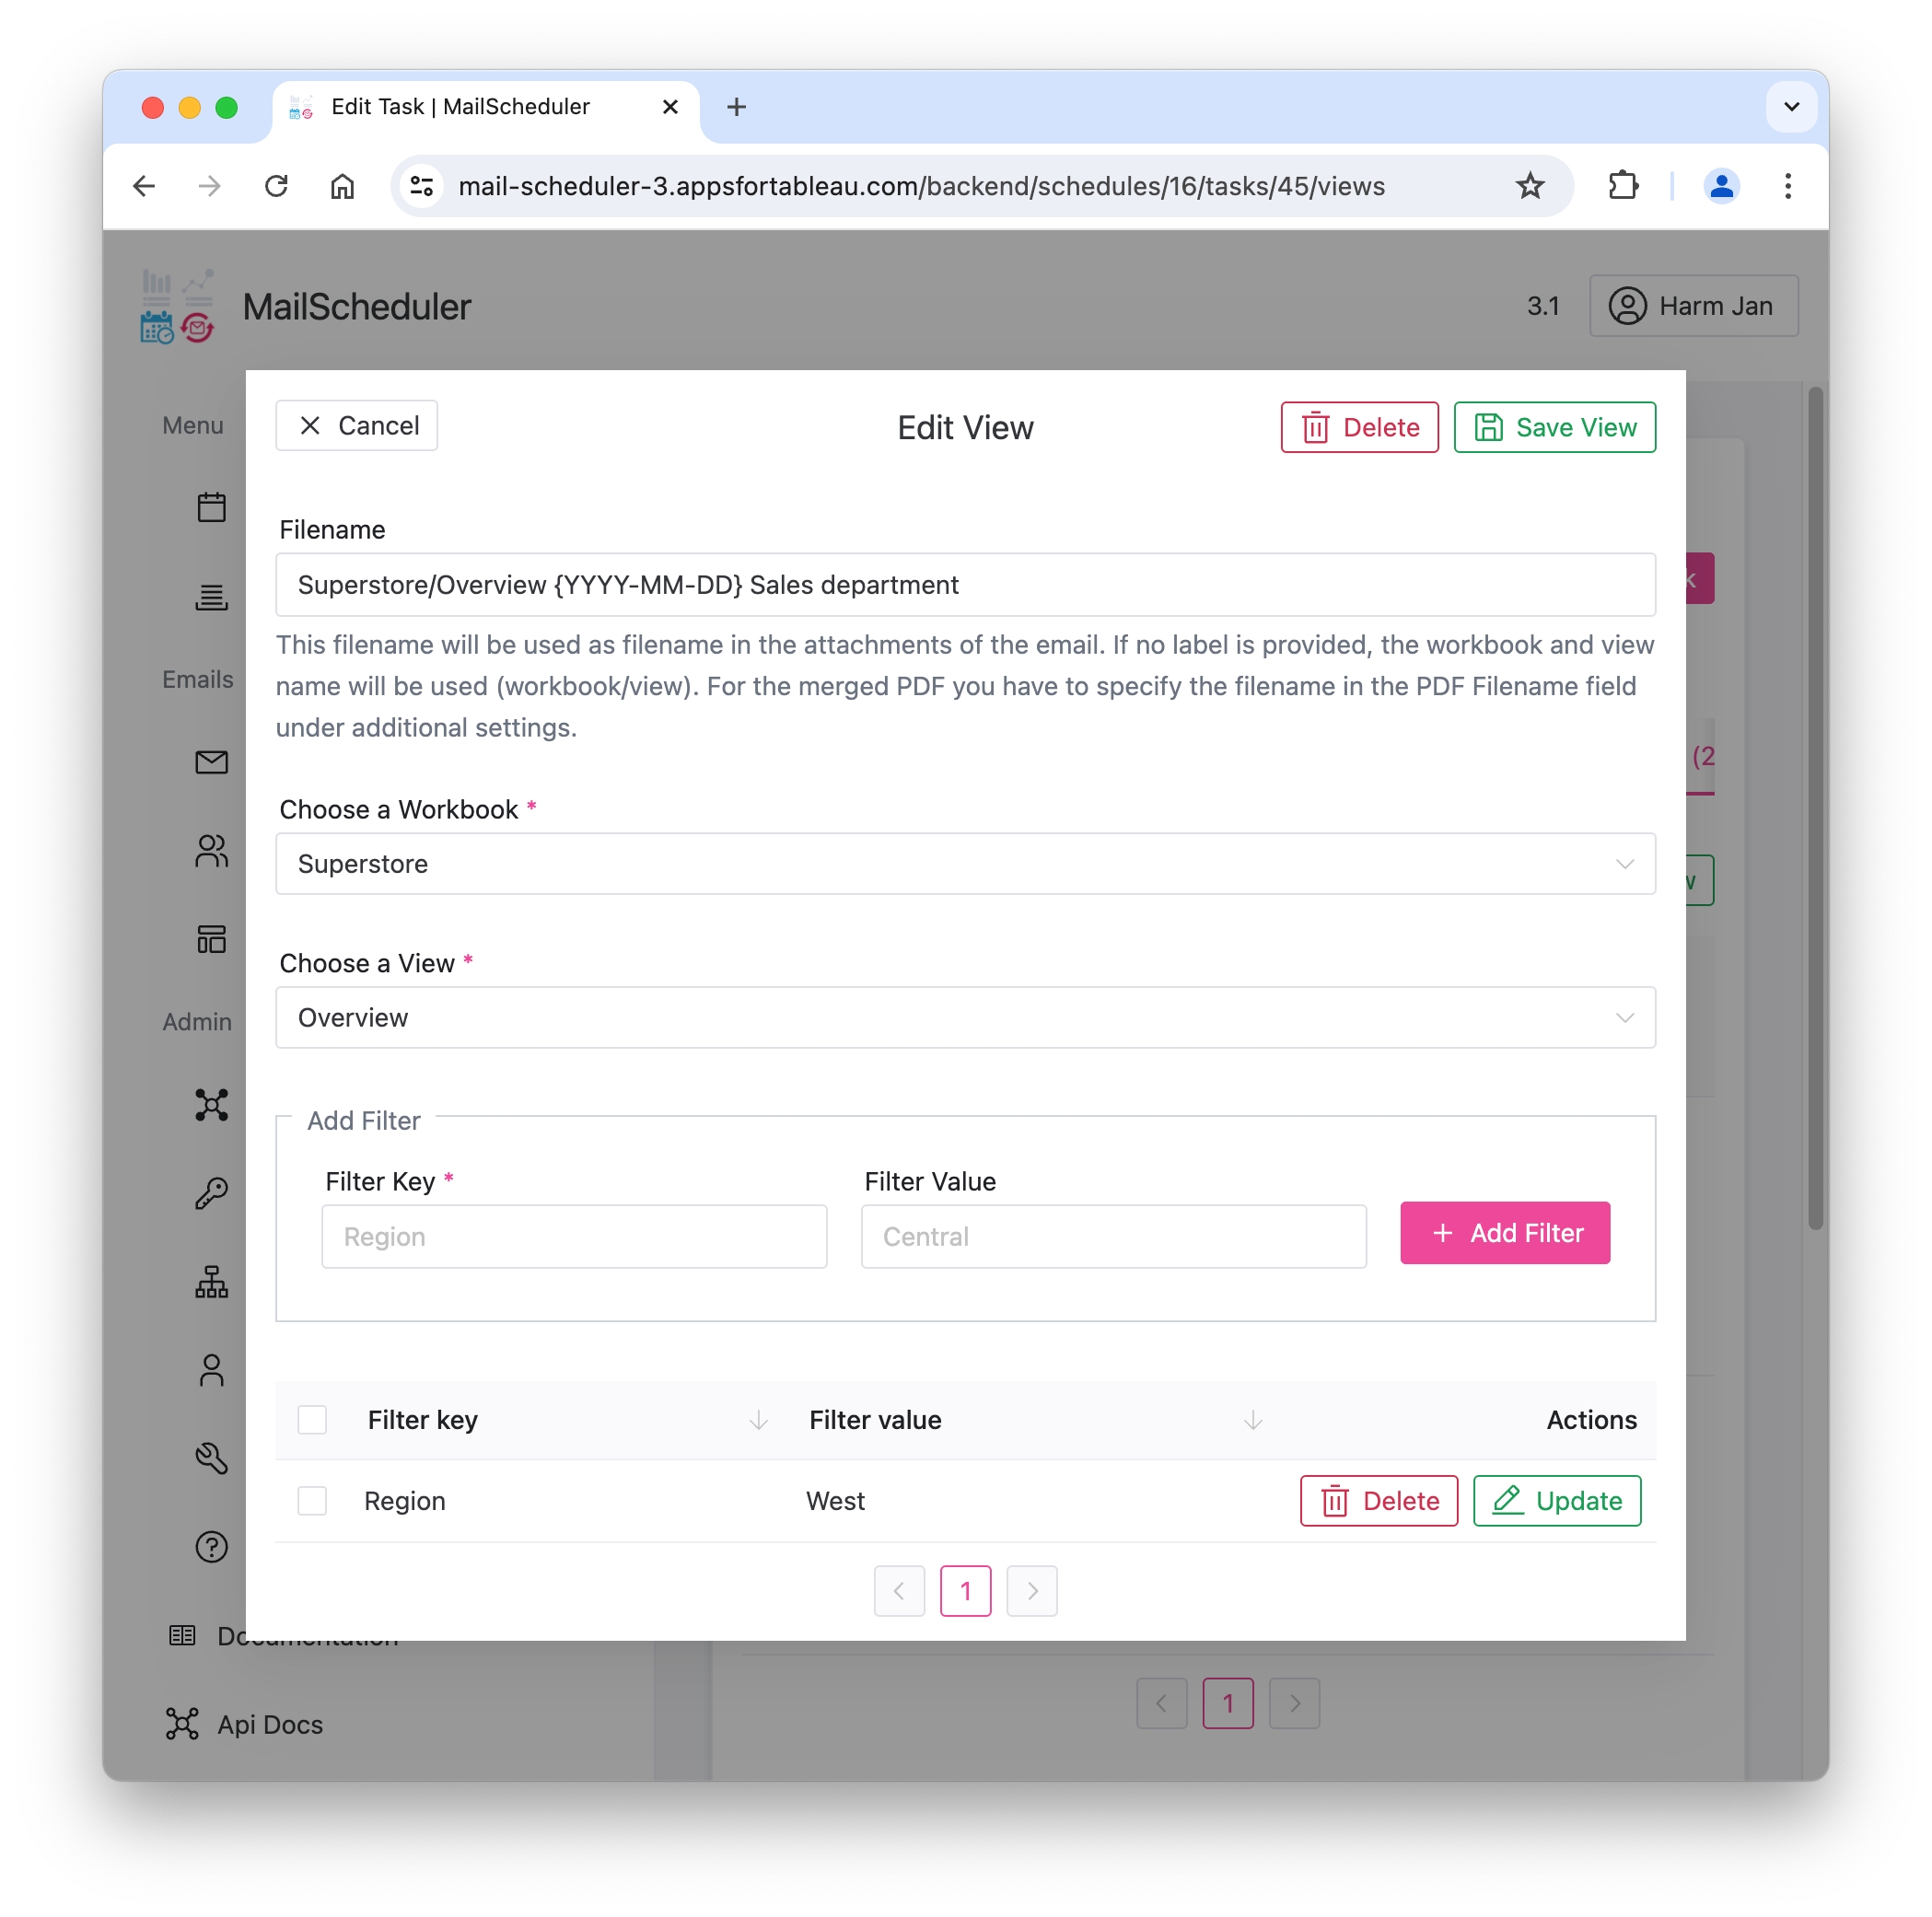
When creating a view, select the relevant workbook and view and add filters if required (for more details on filters, see the relevant chapter). The filename will also be used if you export a CSV, PNG, or Excel file.

PDF filename and CSV options only apply when one or more views use the PDF or CSV format.
You can choose to combine your Excel reports into a single paginated report here, as well as auto-fit the columns and bold the first row.
Custom views
To download custom views, the process is almost exactly the same as with normal views. When selecting the view you want to use, at the bottom of the list you will now also see custom views.
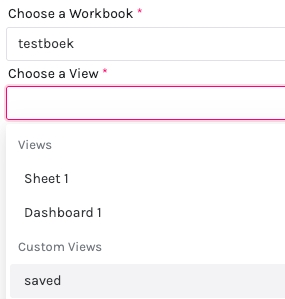
Just click on the custom view you would like to send, and that's it!
Please note, that to use custom views, you need to have at least Tableau server / cloud API version 3.21+ to download images and Powerpoint files, and version 3.23+ to download CSV /or PDF files. There is currently no support for excel exports.
Email & External messaging Body (Message)
In the message, we can create the message content, this will be the message your users will receive in their email or Slack / Teams message. Each element in the email can consist of either an image or text, with the ability to save templates for reuse.
Images are only for the header/footer. They cannot be added to the body text, but you can add inline images of the dashboard.

Rich text
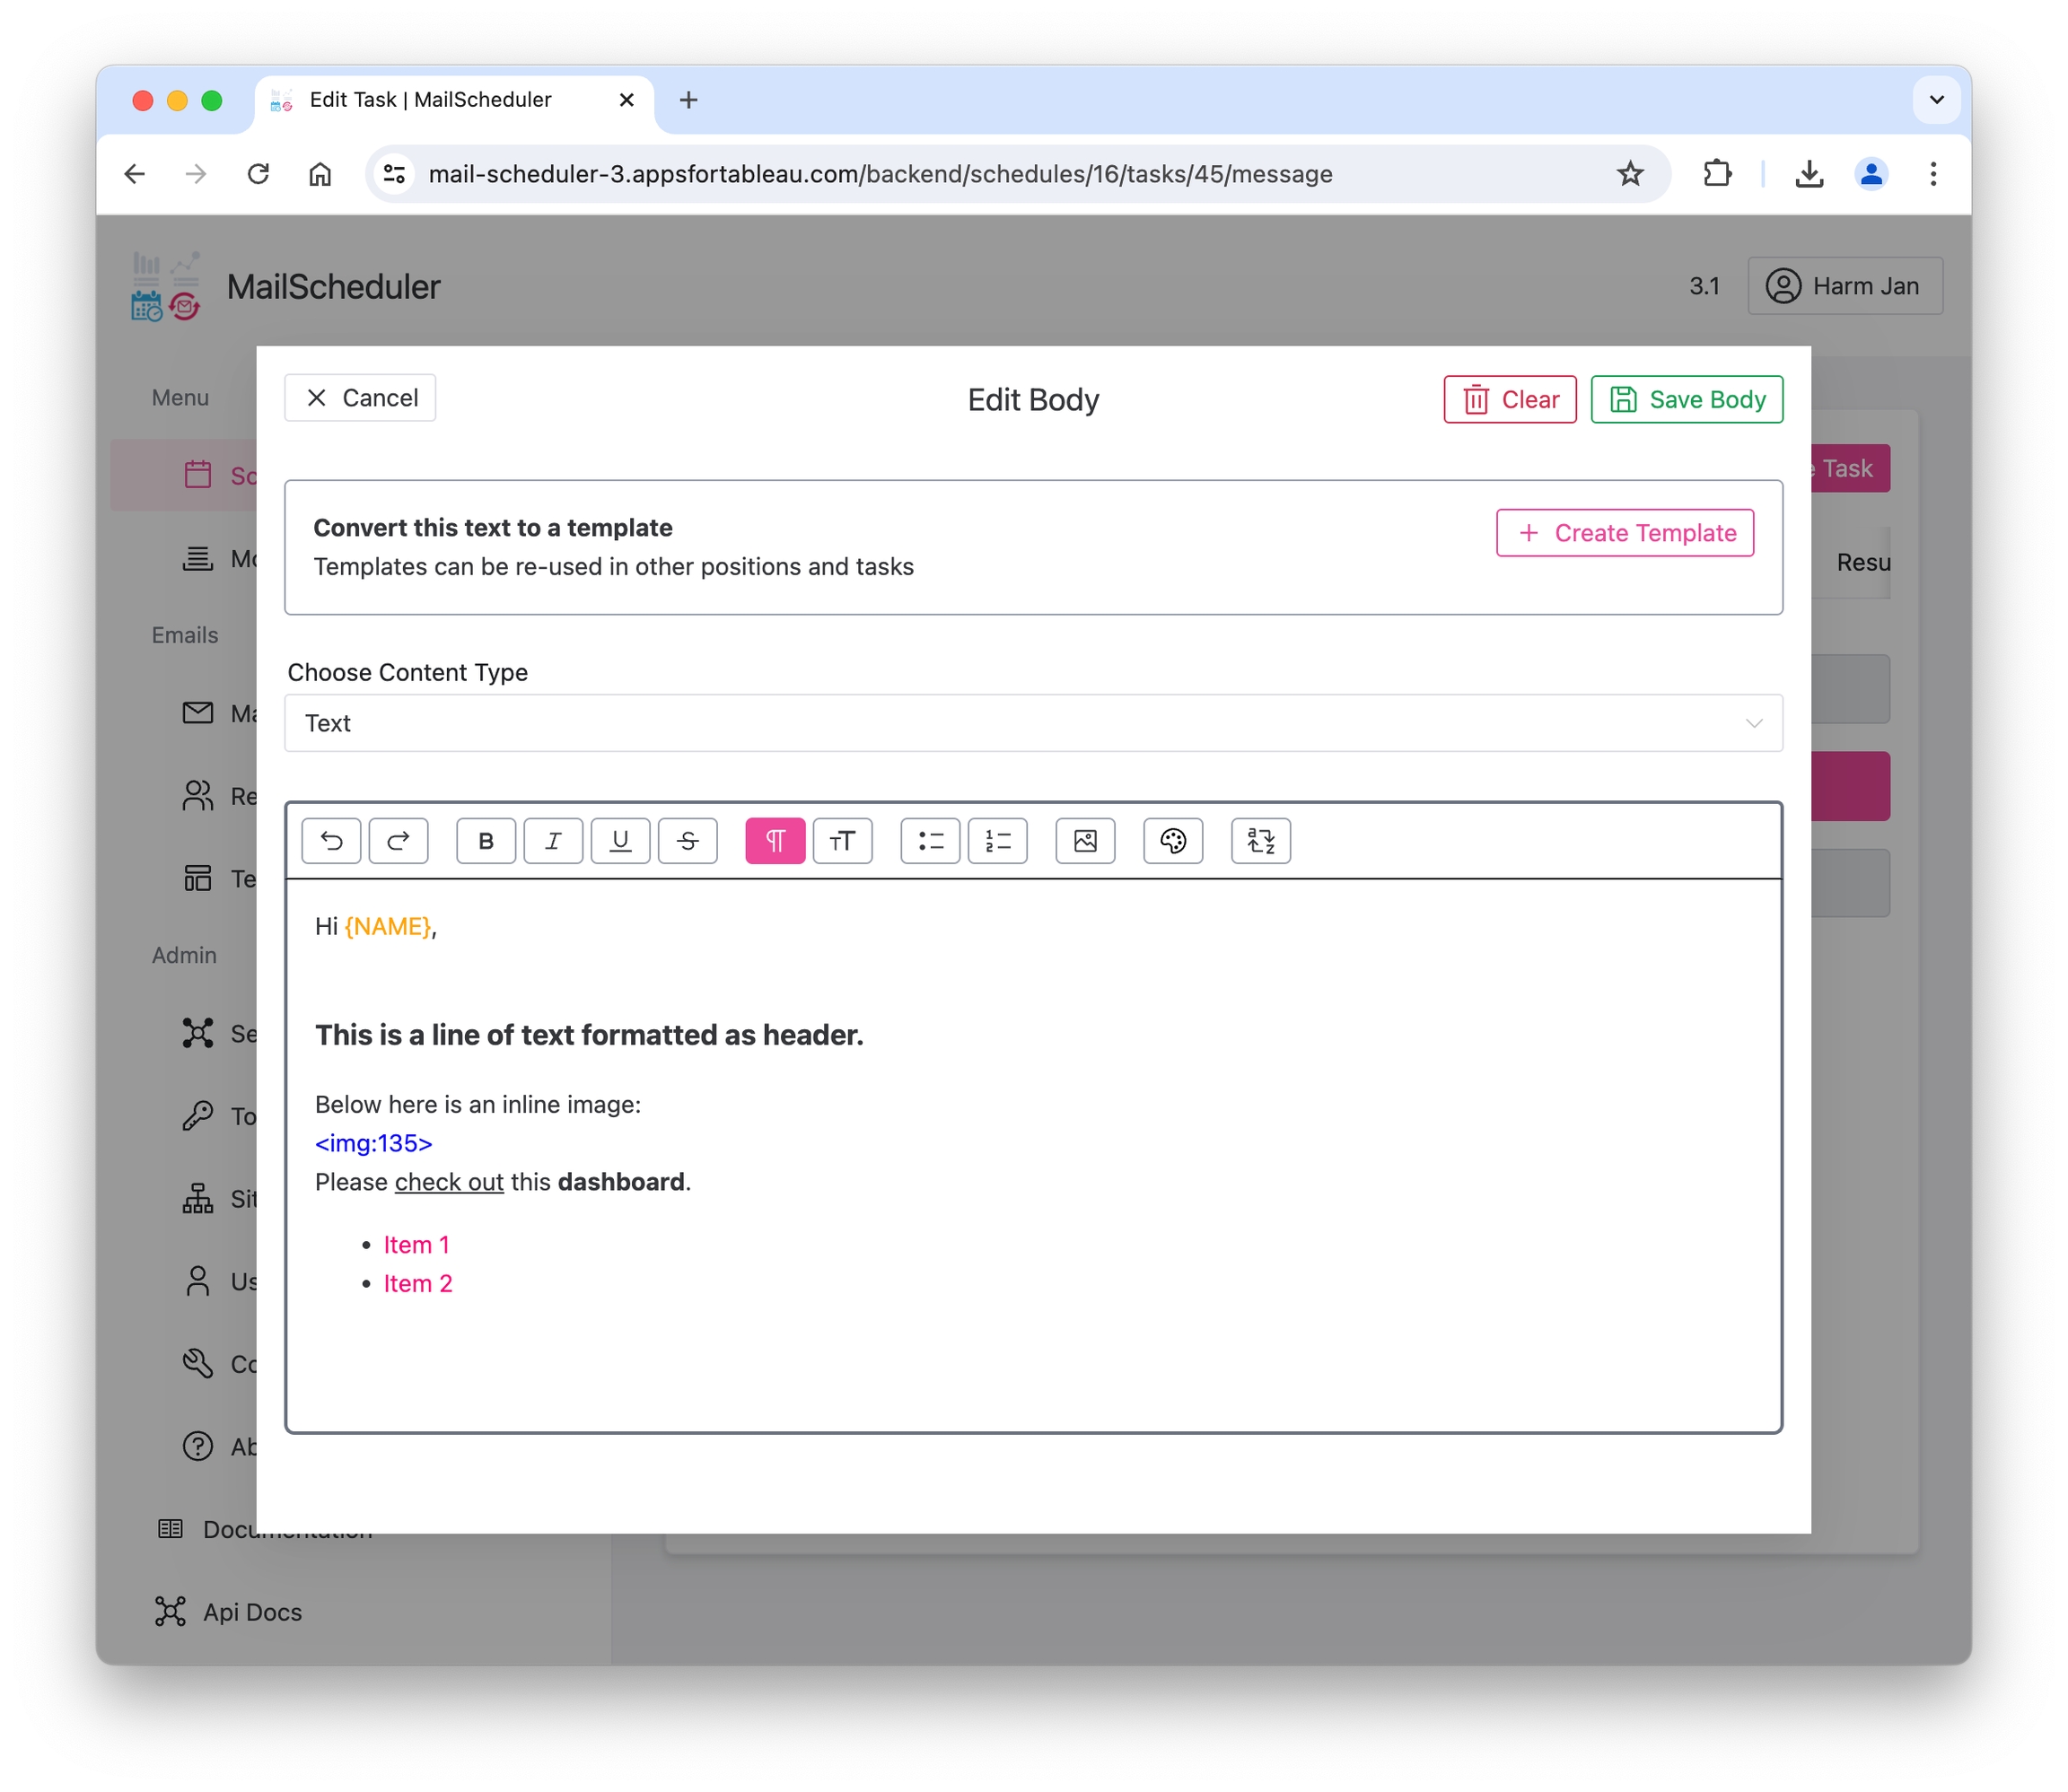
Add your content in the rich text box. You can format your message by changing the style, linking websites, and adding inline images.
Several dynamic values can be added as seen here:– Date: {YYYY-MM-DD} -> 2023-04-17– Date with a time diff, for example, yesterday: {YYYY-MM-DD:-1 day}– The recipient name: {NAME}. You can add more placeholders. Please check the Placeholders section.
Inline Dashboard Image
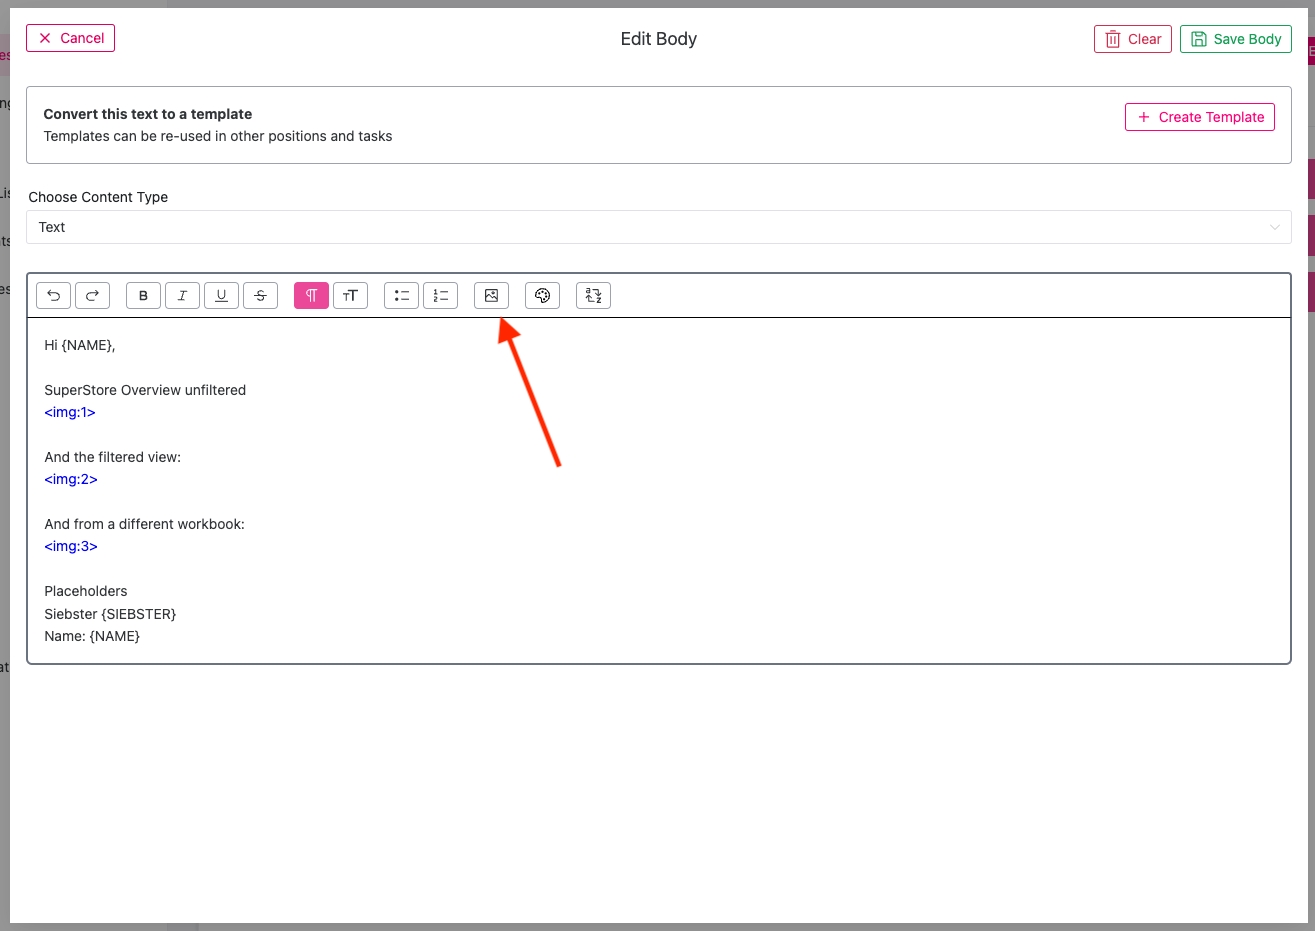
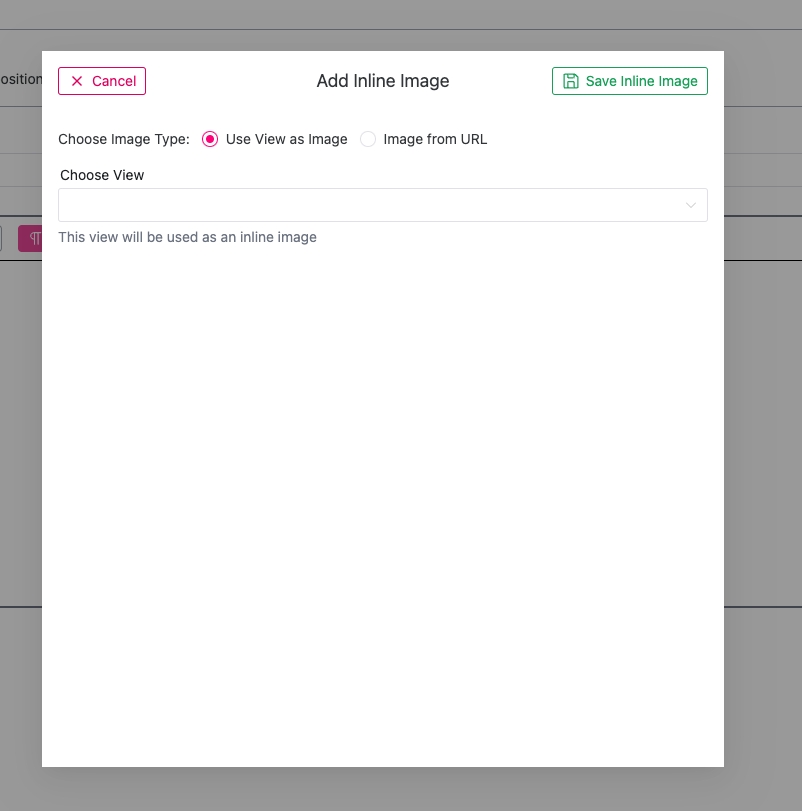
If you want to add an inline dashboard image, click the image icon and select a view you have added to the task. Similarly, you can add a placeholder by selecting the a->z icon.
Image
Add an image that is placed in the folder 'img', next to the phar file on the server. Be sure to specify the size of the image.
Here, you can also format the image you’re attaching to your task. This can be a company logo, for example. Create a label so you can reuse it in another task, and a filename that will be the name where the file is saved in your folder. Decide on the size and alignment of the image to give your message the best look. Uploaded images can be found and managed in the “Templates” tab.

Placeholders
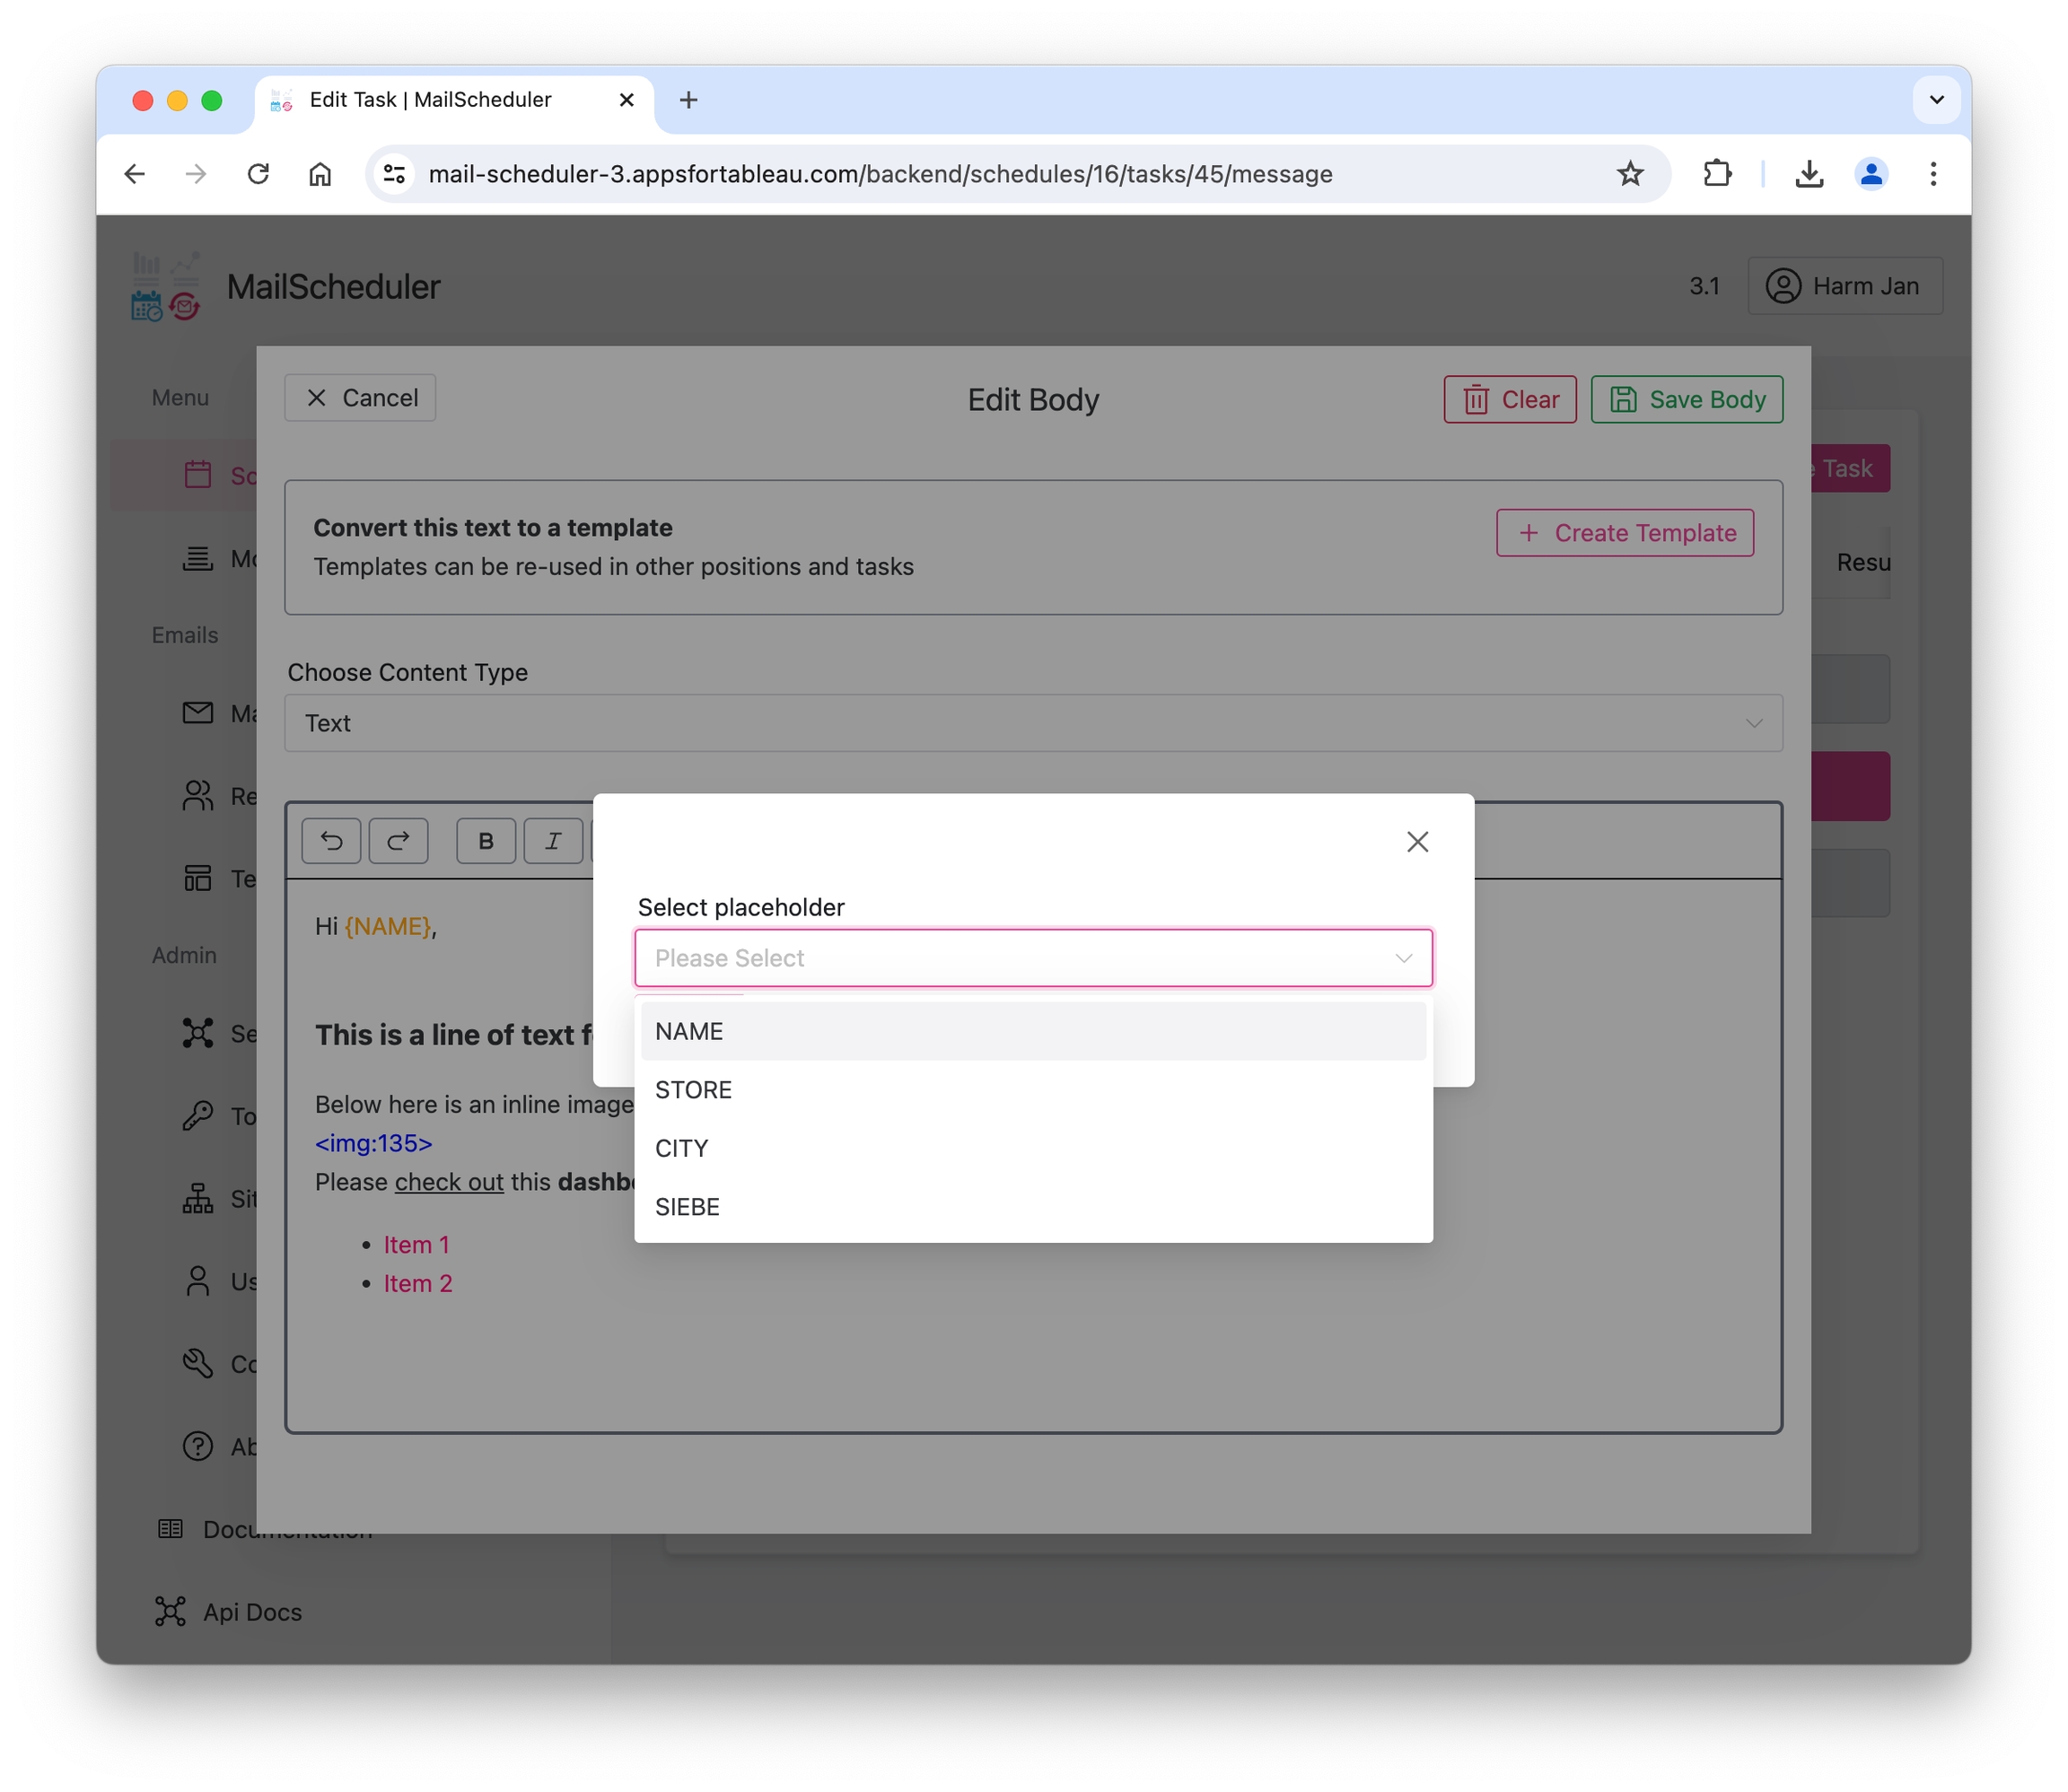
You can insert a placeholder by clicking on the a->z icon. Select a placeholder that you have created in the Config menu under placeholders.
Templates
Reuse a template from the list. Here will show all the labels of your stored text and images to reapply to message elements as you see fit. Templates can be linked to a task via the import/export schedule tool. You cannot create a new template from a csv file. This must be done in the MailScheduler front-end. Templates with views only work within a task targeting the same workbook, as these views are only available within this workbook.

Manage templates and upload images in the Templates tab.

Last updated