MailScheduler
WebsiteAll products
  • Prologue
    • MailScheduler
    • Release Notes
    • Changelogs
    • Architecture
  • Installation guide
    • Requirements
      • Windows
      • Linux
    • Getting started
      • Windows
      • Linux
    • Installation wizard
      • License
      • Repository database
        • SQL Server
        • MySQL
        • PostgreSQL
        • SQLite
      • Create a user
      • Email setup
      • URL & SSL Certificate
      • Run as a service
      • Summary
        • Running on Linux
    • Configuration panel
      • Home page
      • Domain & SSL Management
      • Repository Database
      • License Management
      • User Management
      • Email settings
    • Upgrade
      • Upgrade from 1.x to 2
      • Upgrade from 2.x
    • Update license
    • Moving to production
  • Product Guide
    • Getting started
    • Schedules
    • Tasks
    • Mailinglists
    • Recipients
    • Filtering
    • Monitoring
    • Config
    • API
  • Support
    • Troubleshoot
    • FAQ
Powered by GitBook
On this page

Was this helpful?

  1. Installation guide
  2. Installation wizard

Create a user

PreviousSQLiteNextEmail setup

Last updated 11 months ago

Was this helpful?

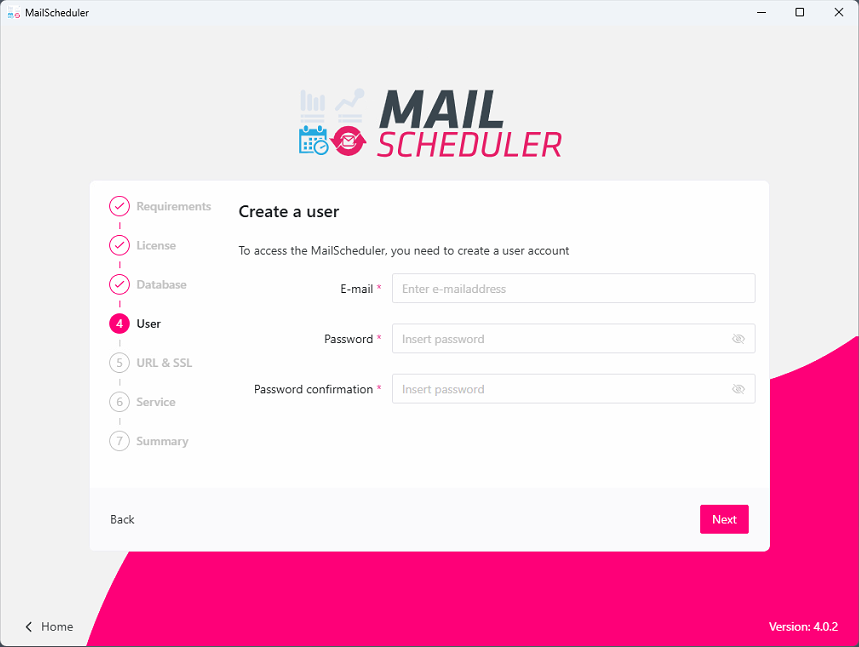
The next step is to create an admin user for the backend of MailScheduler. This user will be used for the initial login into the backend. Make sure to write down or remember the login information (this can be changed in the backend after logging in).