
Using DrillDownTree
There are plenty of features once you have configured your DrillDownTree that can help you get the most value in your viz.
Drilling Down
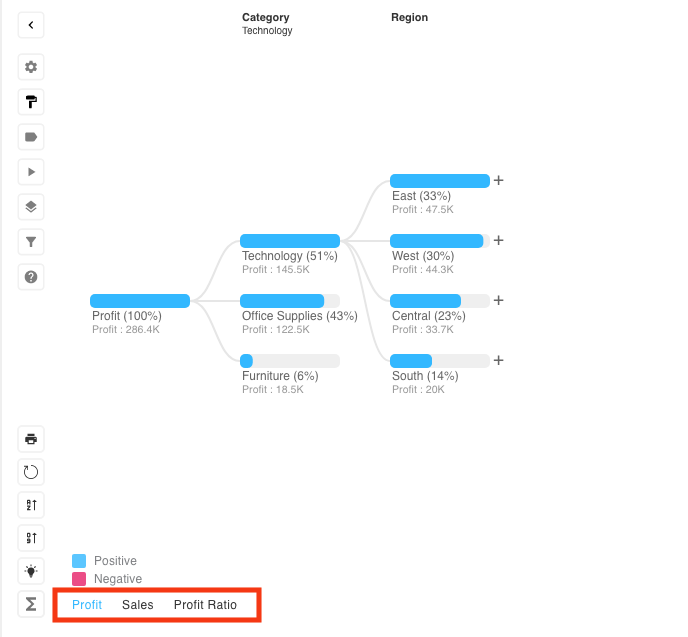
Once you have configured your DrillDownTree you will see your chosen measure in the view. Use the + button alongside your node to start drilling down. Clicking the + sign will show a dropdown with all the dimensions that are available to Drill Down on… You can do this on each node to drill down further. The animated gif shows how easy it is to populate your drill down path.

Remove a dimension from your Drill-Down path
You may have drilled down too far or just wish to go back a dimension to drill down on a different dimension. To do this, simply click on the header at the top of the view, to remove from your DrillDownTree view. You can even remove a dimension in the middle of your Drill-Down path in the same way (just by clicking on it). The animated gif shows how easy your dashboard users can remove dimensions from the active drill down path.
Measure switching
If your datasheet contains multiple measures, they will be displayed at the bottom of the screen. Click on a measure to switch the measure shown in the drill-down tree, maintaining the current drill path.
Large dimensions
There may be a time that not all the members of a dimension fit the view vertically. This will result in a node with the title “Other” Click on ‘Other’ where it will show the remaining members of the specific dimension that were not shown in the initial view. Below an example of the “Other” pill in your DrillDownTree.
Horizontal scroll-bar
Drill down as much as you wish whilst keeping a beautiful viz using the horizontal scroller. This will appear once you have drilled on a few dimensions and the entire tree does not fit your container horizontally.

Last updated
Was this helpful?