
Getting started with dashboard extension
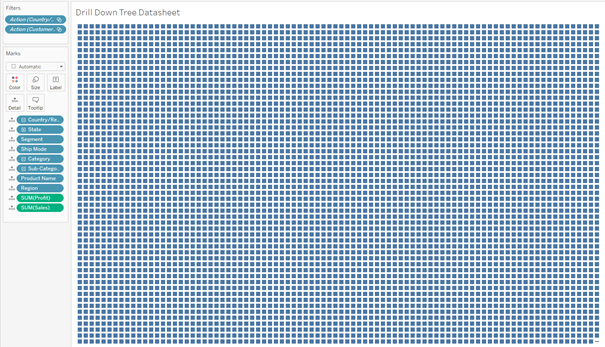
The datasheet needs to be on the dashboard. It is not the most beautiful visualization, so it is best to hide it for your dashboard users. To achieve this:
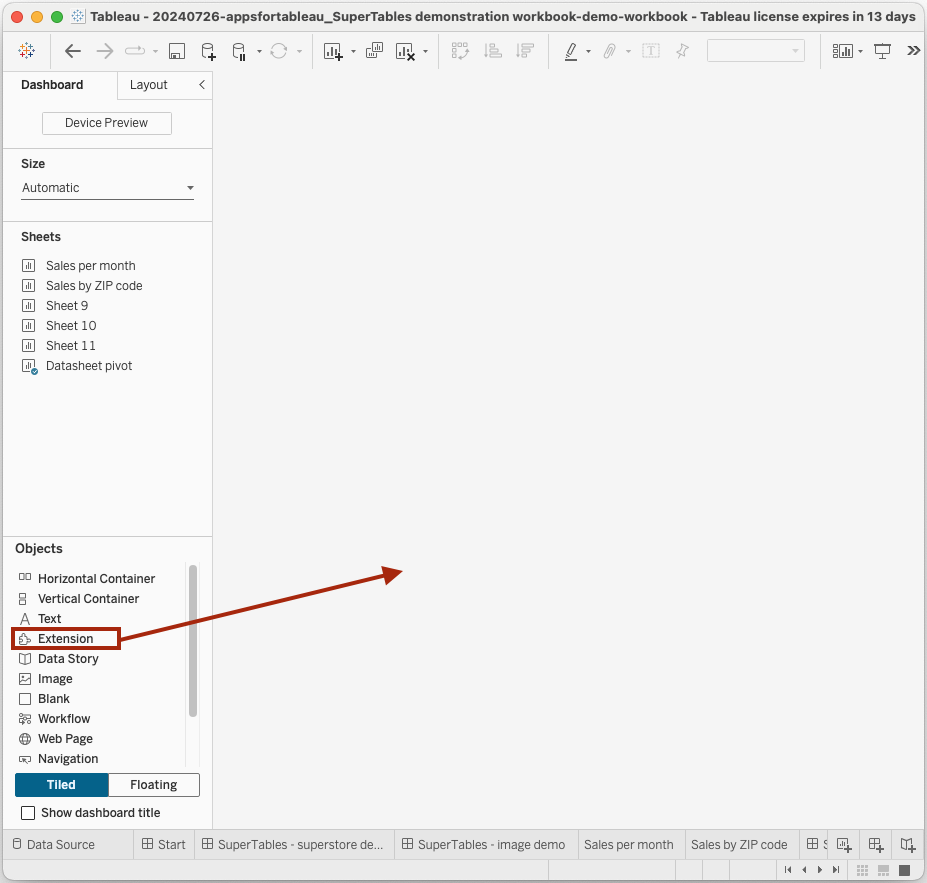
Add the worksheet to your dashboard as a 'floating' container.
Edit the size to 1x1 pixels and set the position to 1,1 (x,y coordinates). This will make your datasheet active on the dashboard without being visible to users.
Load extension to the dashboard
Import DrillDownTree:
If you have a TREX file:
Click on 'Access Local Extensions'.
Navigate to the TREX file and select the TREX file.
Alternatively:
Search for DrillDownTree in the Tableau Exchange.
Click Add to the dashboard.
Authorize extension: Click ‘OK’ to allow the extension to run in your dashboard.
For best practices and optimal performance on your dashboard, we recommend the following steps:
Drop the measure(s) and dimensions onto the detail of your marks card on a separate or new worksheet. This setup allows DrillDownTree to perform at its best and ensures greater flexibility for dashboard actions.
Make sure all dimensions you wish to use in the Drill Down path are included on the datasheet.
By following these tips, you ensure that DrillDownTree performs efficiently and enhances the user experience.
Configuration
After loading the extension click on the bright pink icon which says "`Start configuring" to get started with the Drill down tree. You can then follow the tutorial which should lead you to this page in the sidebar:

On this page, select a worksheet which you have created in the previous step, and click "Save" to start creating the diagram.
After creating the diagram, you can further customize it by selecting different nodes and edges to reveal additional layers of data.
Last updated
Was this helpful?