Multiple Layouts

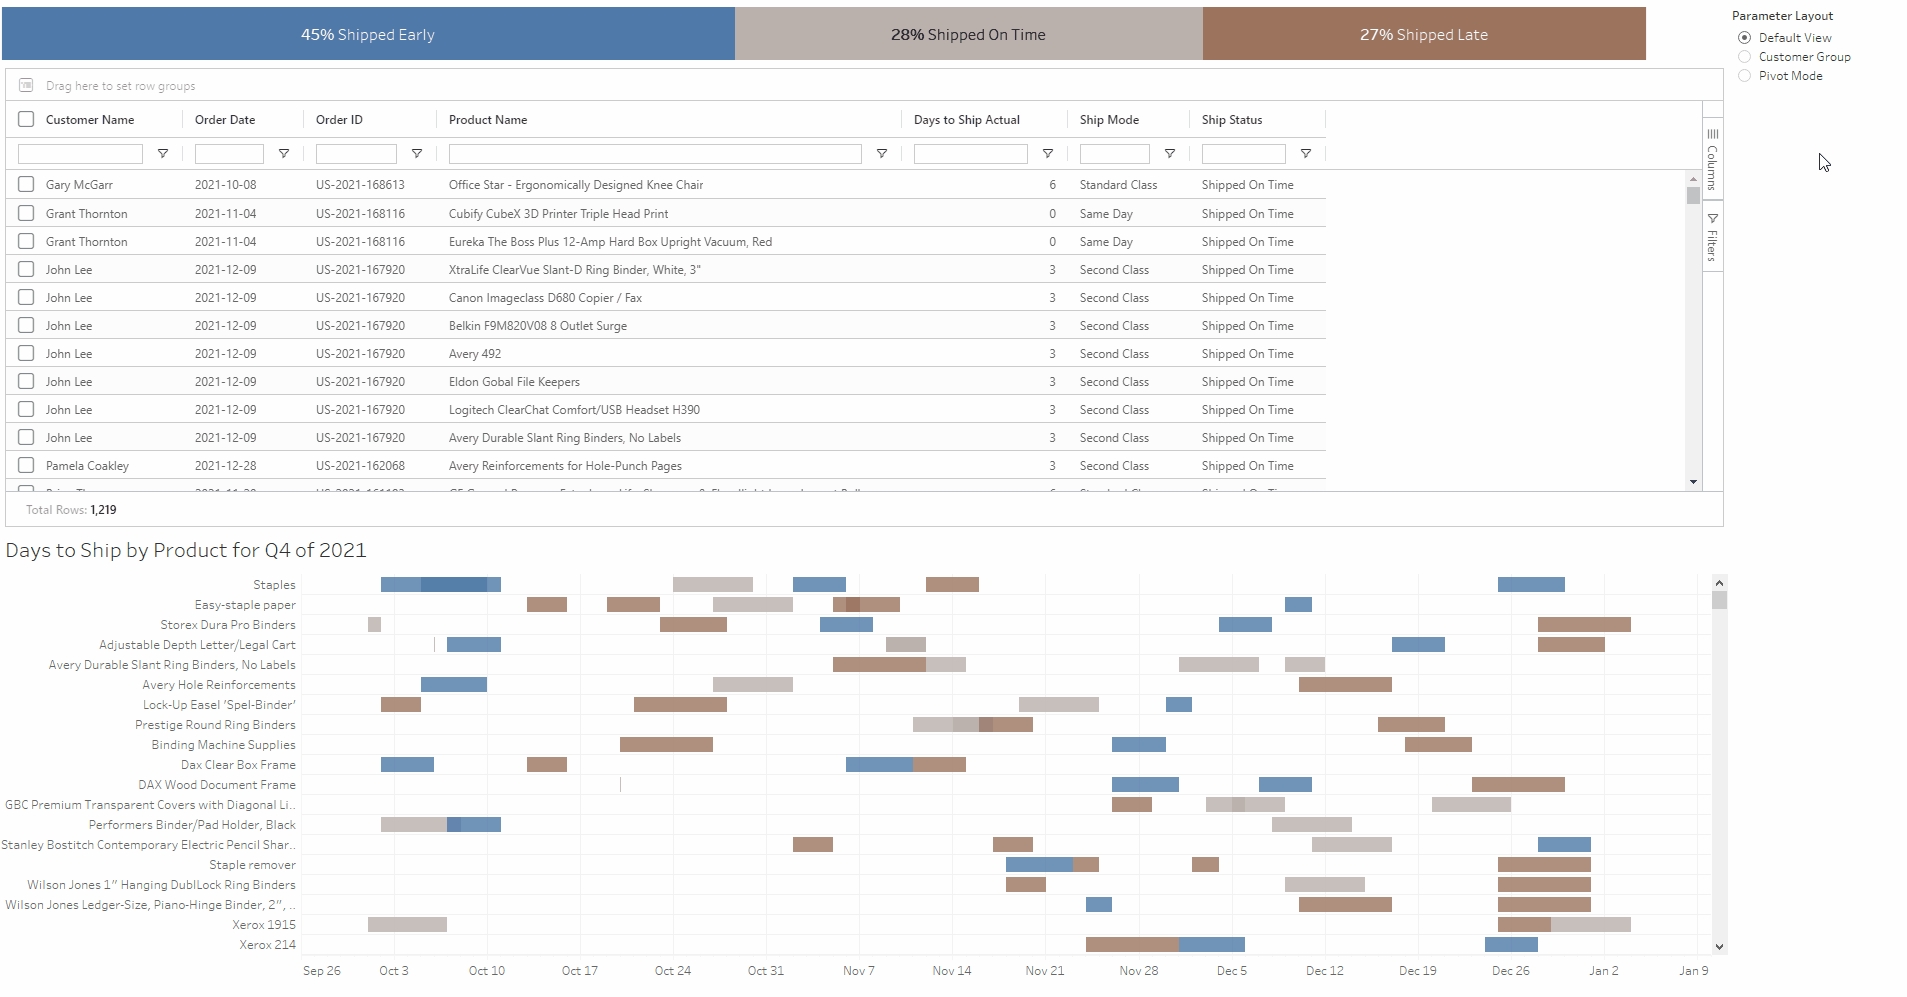
SuperTable enables users to create and store multiple custom layouts for quick access. For instance, a user might arrange specific columns in a preferred order in one layout. This functionality allows users to use pre existing layouts without starting from scratch and to easily swap between layouts. Here’s a guide on how to create and store custom layouts:
Configuration
Firstly you will need to create two parameters of type string in your worksheet. One for storing the view and one for the layout change. Leave the value empty.
Step 5
Layout parameters
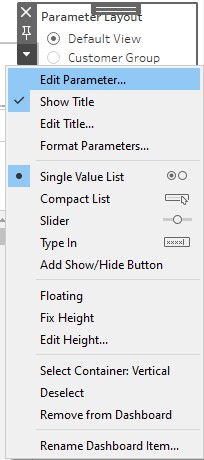
Edit the layout parameter by clicking on the dropdown on the parameter. This is where we will be creating our custom layouts.

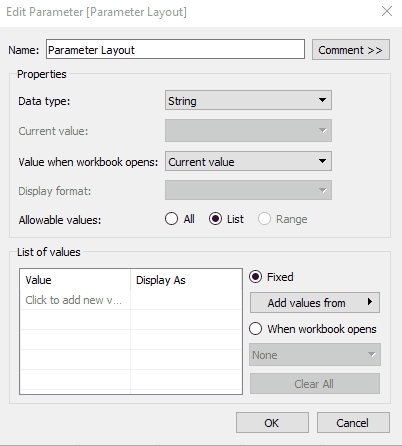
Paste your layout as a value in the list and name your custom view.

Repeat this process for each new custom view you wish to have on your dashboard. Once you have all the custom views you want, remove the stored layout from your dashboard. You can now click on each view and see an instant change in your SuperTable!
Last updated


