
Getting started
Creating your first story with ScrollyTelling
Let’s start your first section! Click on 'configure' in the extension dropdown.
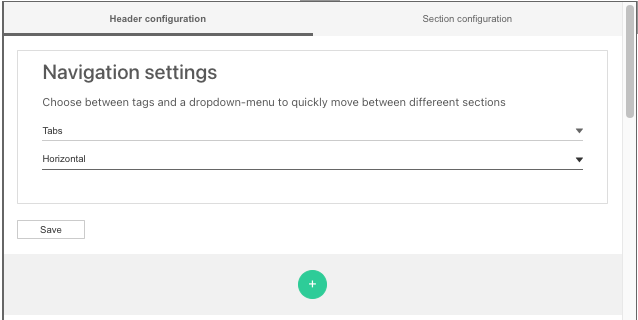
This will open the edit mode, where you will be presented with options to create a story as well as to configure the look and feel of it. The two tabs at the top are to configure the layout and the navigation options. The green plus button is where you actually start the story. Let us begin with how to write your first interactive story with ScrollyTelling.
Creating your story
In the configuration pane below the tabs will get you started with the story. Try to imagine sections as a block in your story, for example, an explanation of a particular viz, inference etc. The stories are created by using sections and can be separated by the gradient option.
On click, you generate a section container which will hold your block of story. Now it’s time to decide what type of content you want to add to that section. On hover, you can see a plus button (with grey background) inside the section you just created. On click, you will be presented with three options to decide what kind of content you want to add to the section
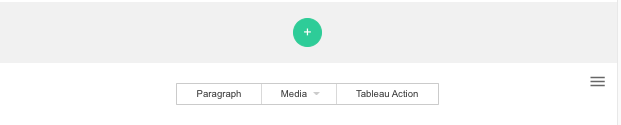
A paragraph holds the textual content of the story, it can be a heading or a brief description of what you want to convey with the respective block of the story. Media lets you add either an image or a youtube video. The third one is the most powerful one where you can create custom tableau actions which can trigger various custom dashboard actions.
Paragraph
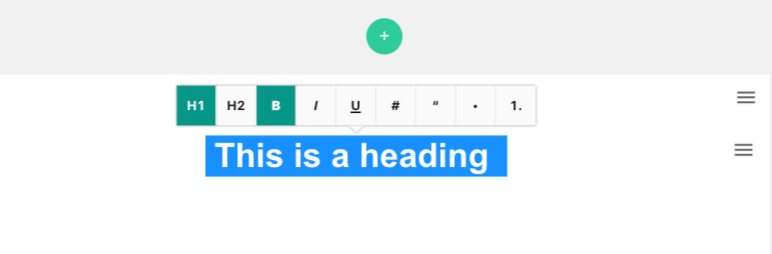
Open your story by choosing a paragraph. This opens a text box for you to begin to tell your story. Highlighting your text will give you options to style your text for example you can choose the H1 or H2 option from the context menu to create a title. Later when you configure the layout you can opt to generate the accordion (which will be explained later) text from the H1 tags or a custom one
Media
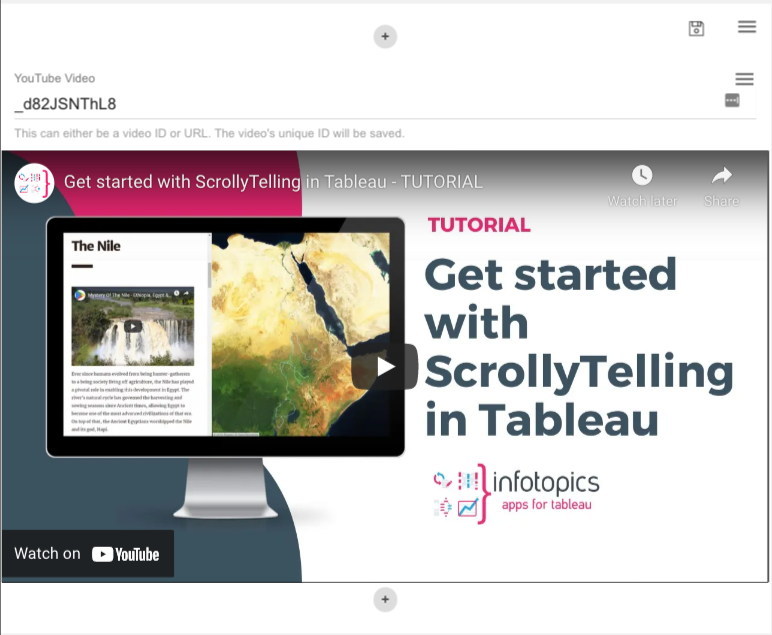
When choosing media you will be prompted on whether you would like an image or a Youtube link in your story. Simply place your copied link and hit the save button. Your video link can either be a video ID or URL. The video’s unique ID will be saved.
Last updated
Was this helpful?