> For the complete documentation index, see [llms.txt](https://docs.infotopics.com/llms.txt). Markdown versions of documentation pages are available by appending `.md` to page URLs; this page is available as [Markdown](https://docs.infotopics.com/vizslides/product-guide/getting-started-with-vizslides.md).
# Getting started with VizSlides
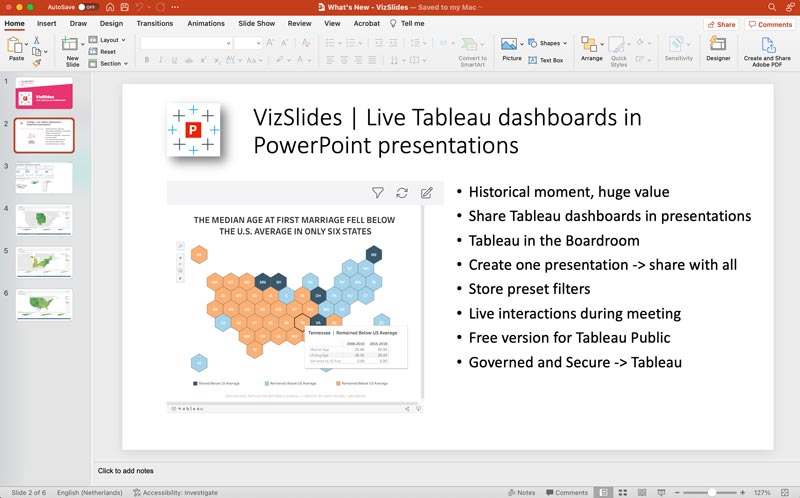
Open your PowerPoint application. The VizSlides plugin will work with the PowerPoint Desktop App as well as the PowerPoint Online version on both Windows and Mac Operating systems. This tutorial shows the use of VizSlides in PowerPoint Desktop on a Mac.
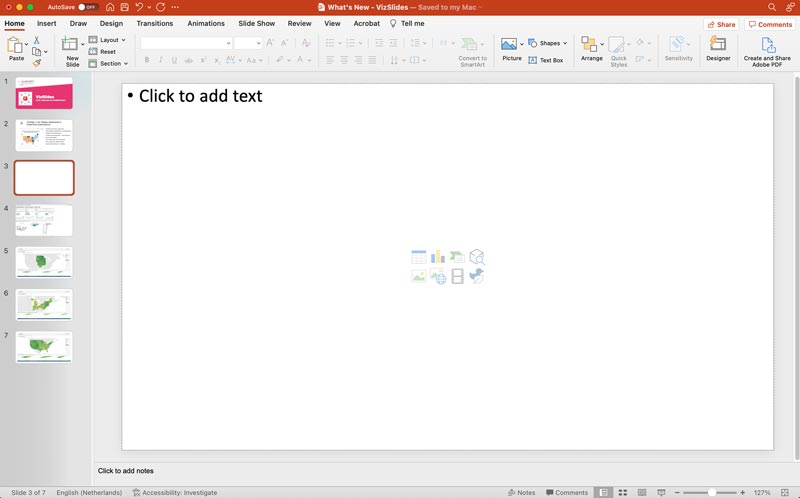
First start your PowerPoint application and open the presentation where you want to embed your live and interactive Tableau Dashboards. You can embed the VizSlides Add-in to an existing slide or create a new slide. For demonstration purposes I use a new blank slide.
### Overview: Add VizSlides to your PowerPoint slide
Watch this video that will guide you through the process of adding your VizSldies add-in to your PowerPoint presentation. The steps shown in the video are:
1. Add a slide to your presentation
2. Goto the Insert menu
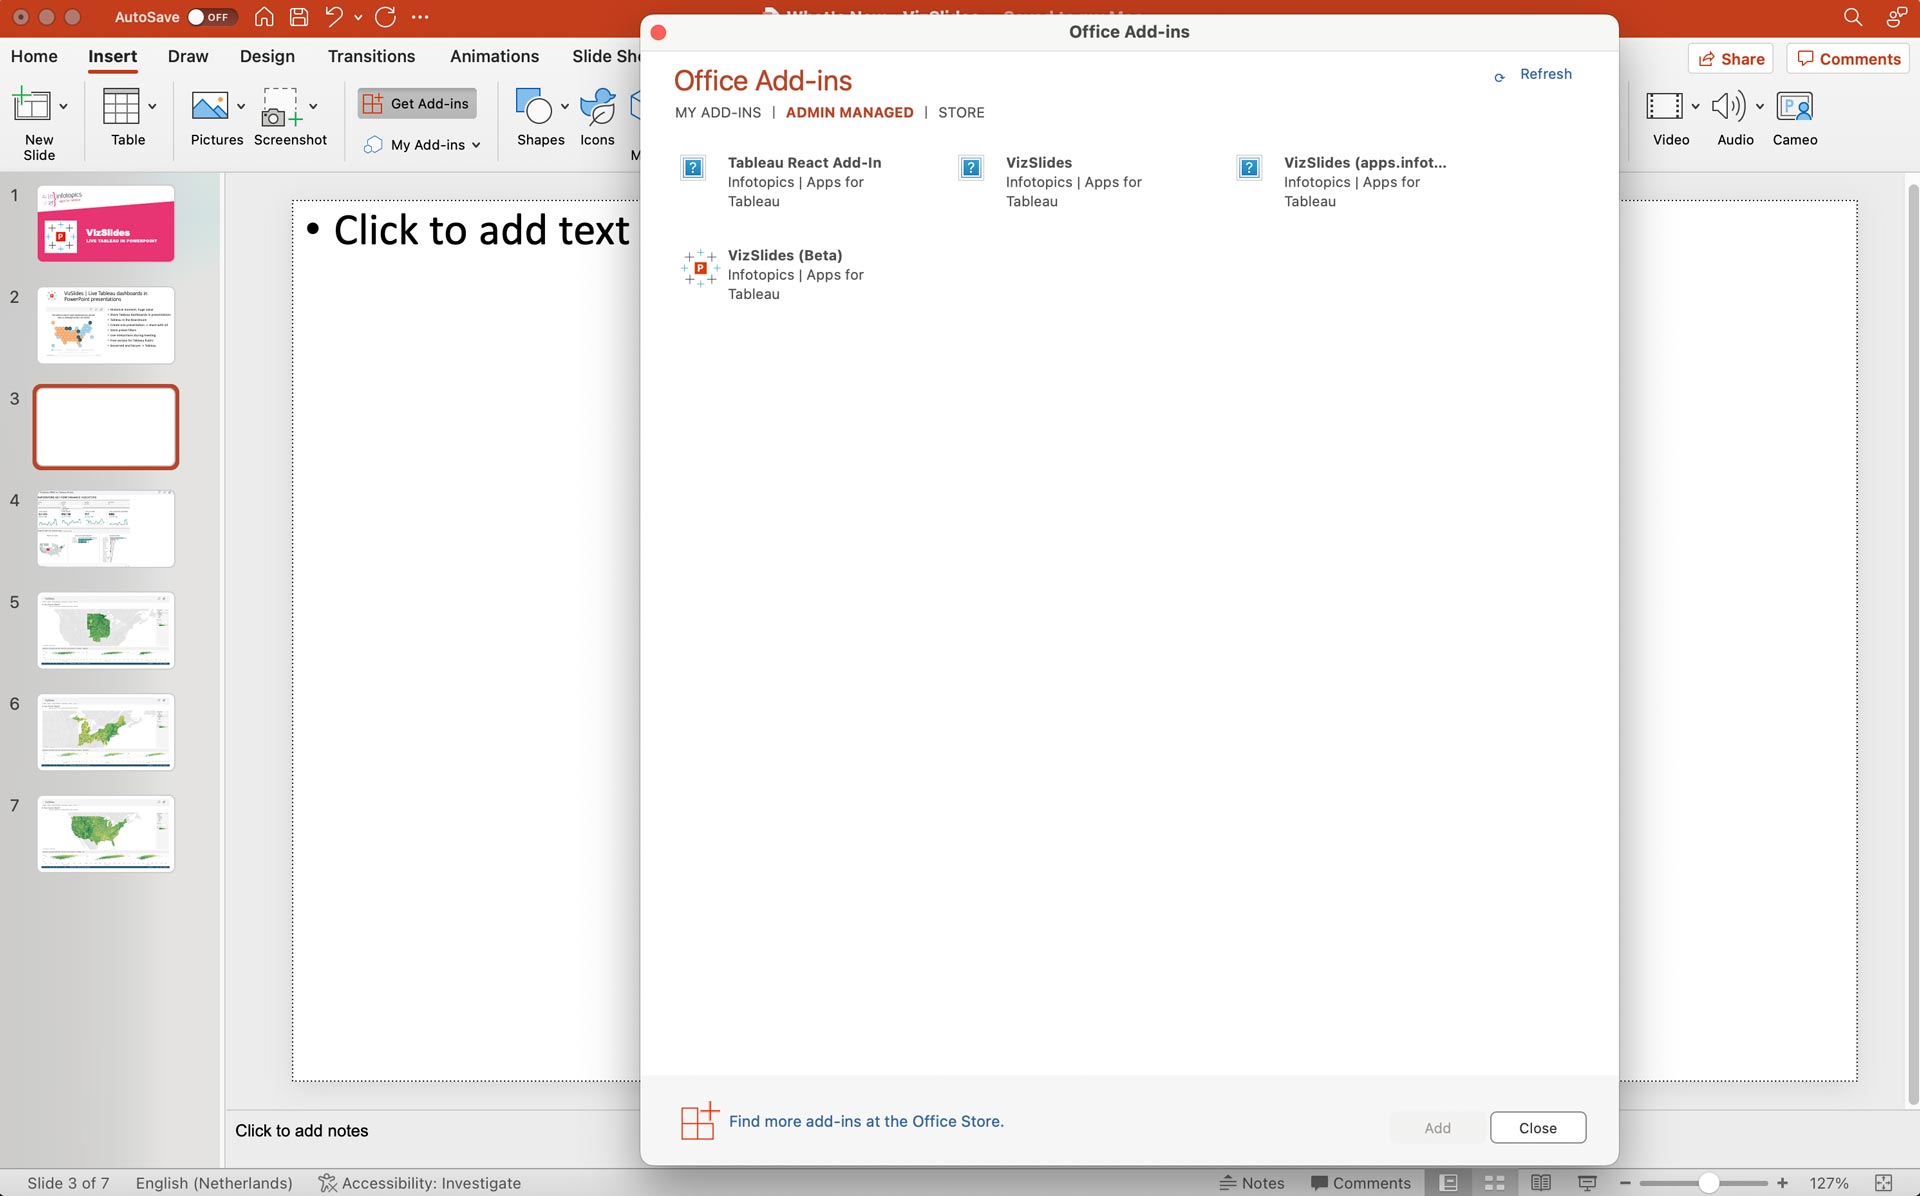
3. Search for VizSlides, use the “Admin Managed” add-ins
4. Add VizSlides to your presentation
Play
###
### Create a new sheet
For demonstration purposes we start with an empty slide. In PowerPoint create a new slide and select the “Blank” layout or single content container format to avoid the interaction with pre-defined PowerPoint containers. Of course the VizSlides add-in will work in predefined containers as well and you can always change your settings once the slide is created.
### Insert VizSlides add-in in your presentation
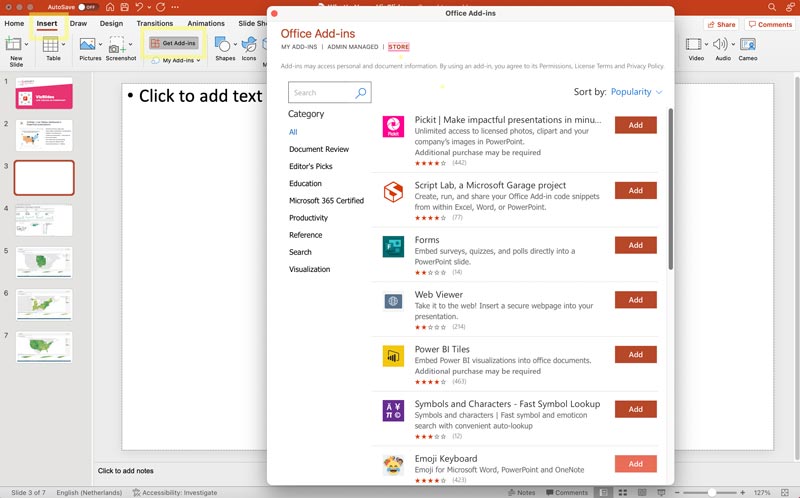
Once you created or selected the slide where the Tableau Dashboard needs to be embedded, select the “Insert” menu option of PowerPoint and click the “Add-in” option in the menu bar. Click on the image on the side to se an enlargement. The “Insert” menu and “Add-in” option are marked with a yellow rectangle.
The Add-in popup shows three tabs. If you want the free version of VizSlides start searching in the Store for “VizSlides” and use the fully functional free version of VizSlides that will allow you to embed dashboards from Tableau Public.
When your organization purchased a license and succesfully completed the installation, the middle tab “Admin Managed” will show all add-ins that are approved by your system admin. This will also include VizSlides. If VizSlides does not appear in this tab, please contact your system administrator and request the publication of VizSlides as described in the [Installation Guide](/vizslides/installation-guide/installation-guide.md).
### Select the Add-In
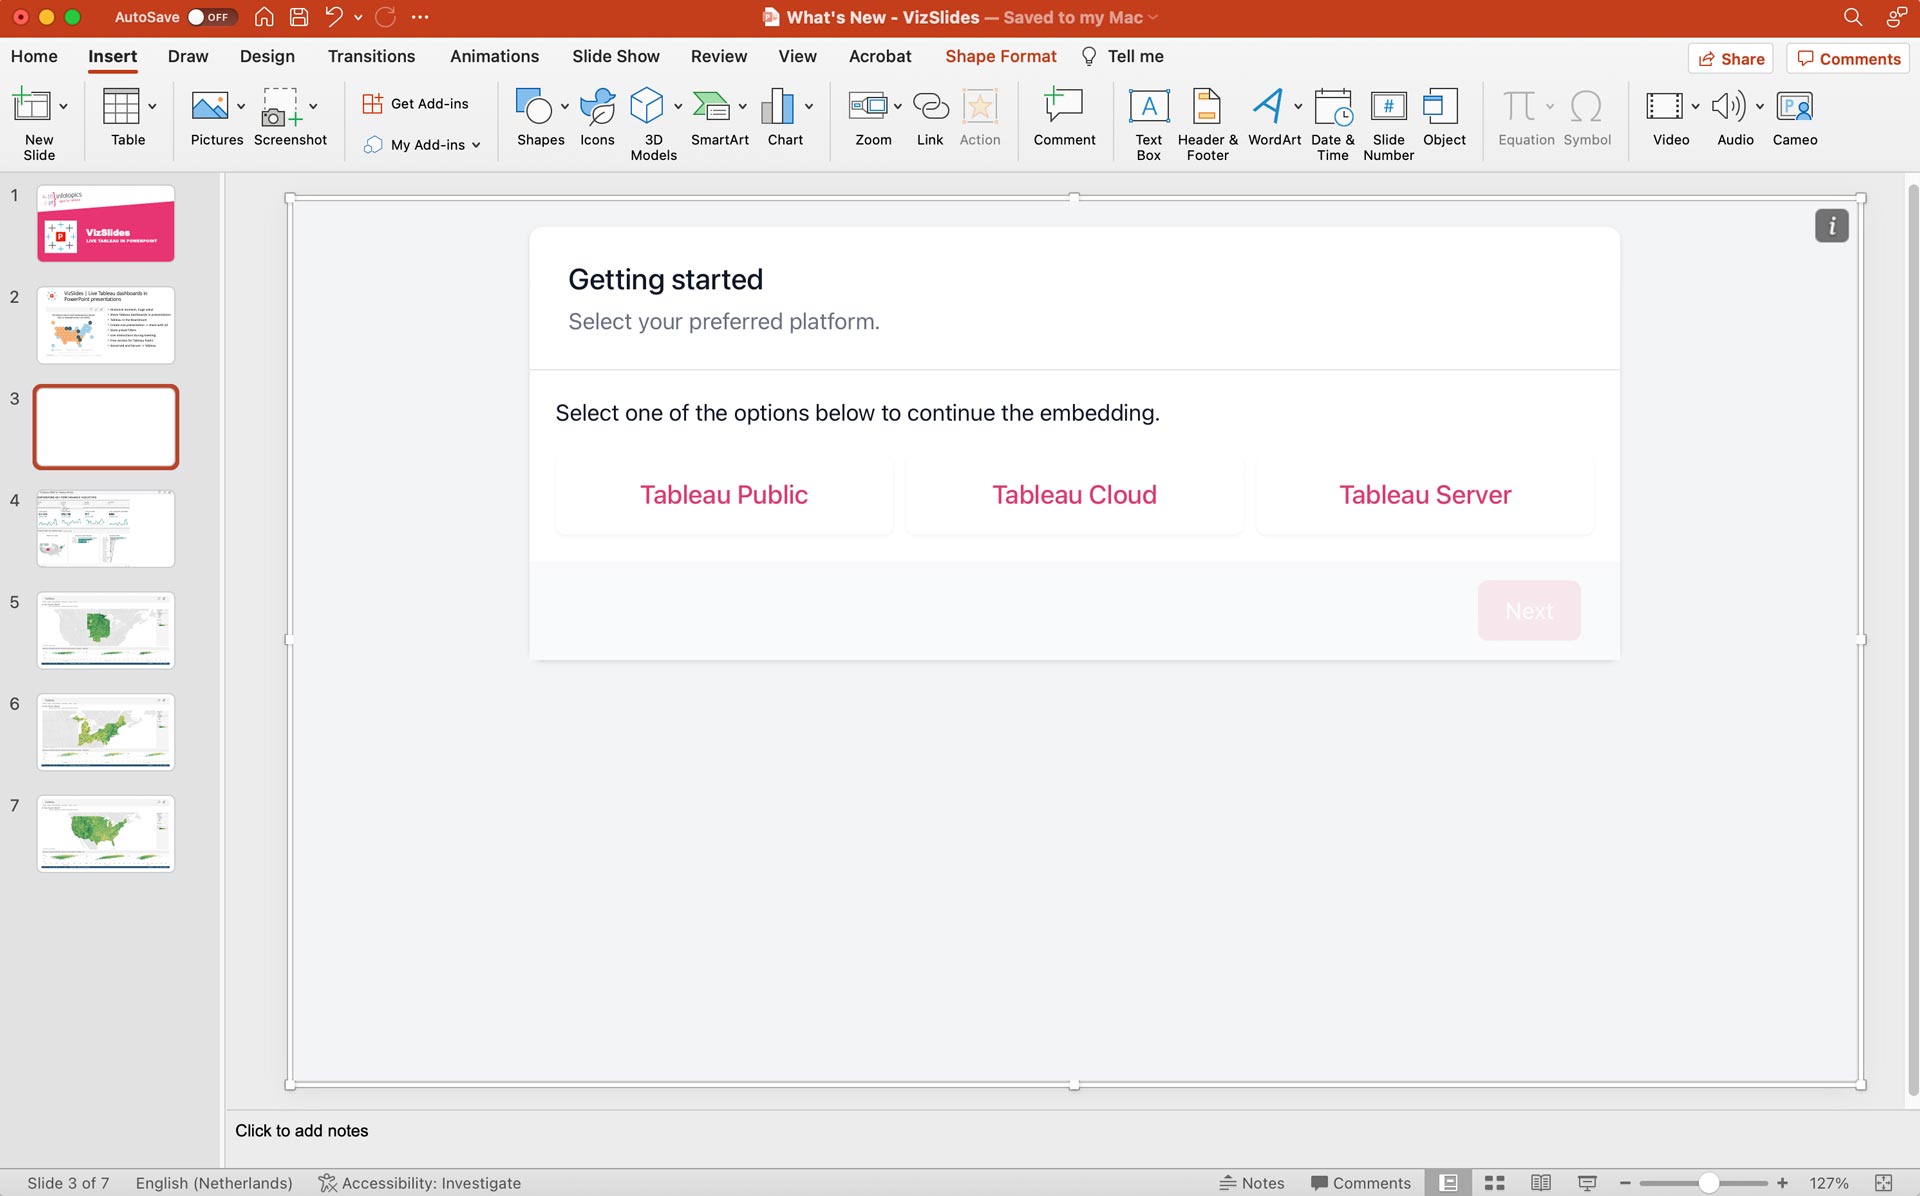
Once you selected the VizSlides add-in for PowerPoint the add-in will load in your Slide and show the start screen. When you use the free version of VizSlides you will only see the “Tableau Public” option, the purchased subscription of VizSlides will show three options:
1. Tableau Public. This option allows you to embed a Tableau Public dashboard into your PowerPoint slides.
2. Tableau Cloud. If you whish to embed a Tableau Dashboard from your Tableau Cloud environment, you choose this option.
3. Tableau Server. If your Tableau environment is based on a Tableau Server environment this is the option to go with.
Below an image of the start screen showing all Tableau Platform options of the VizSlides add-in.
[](https://appsfortableau.infotopics.com/wp-content/uploads/2022/11/VizSlides-add-in-added-to-the-Slide-in-PowerPoint.jpg)
### Select your preferred Tableau Platform
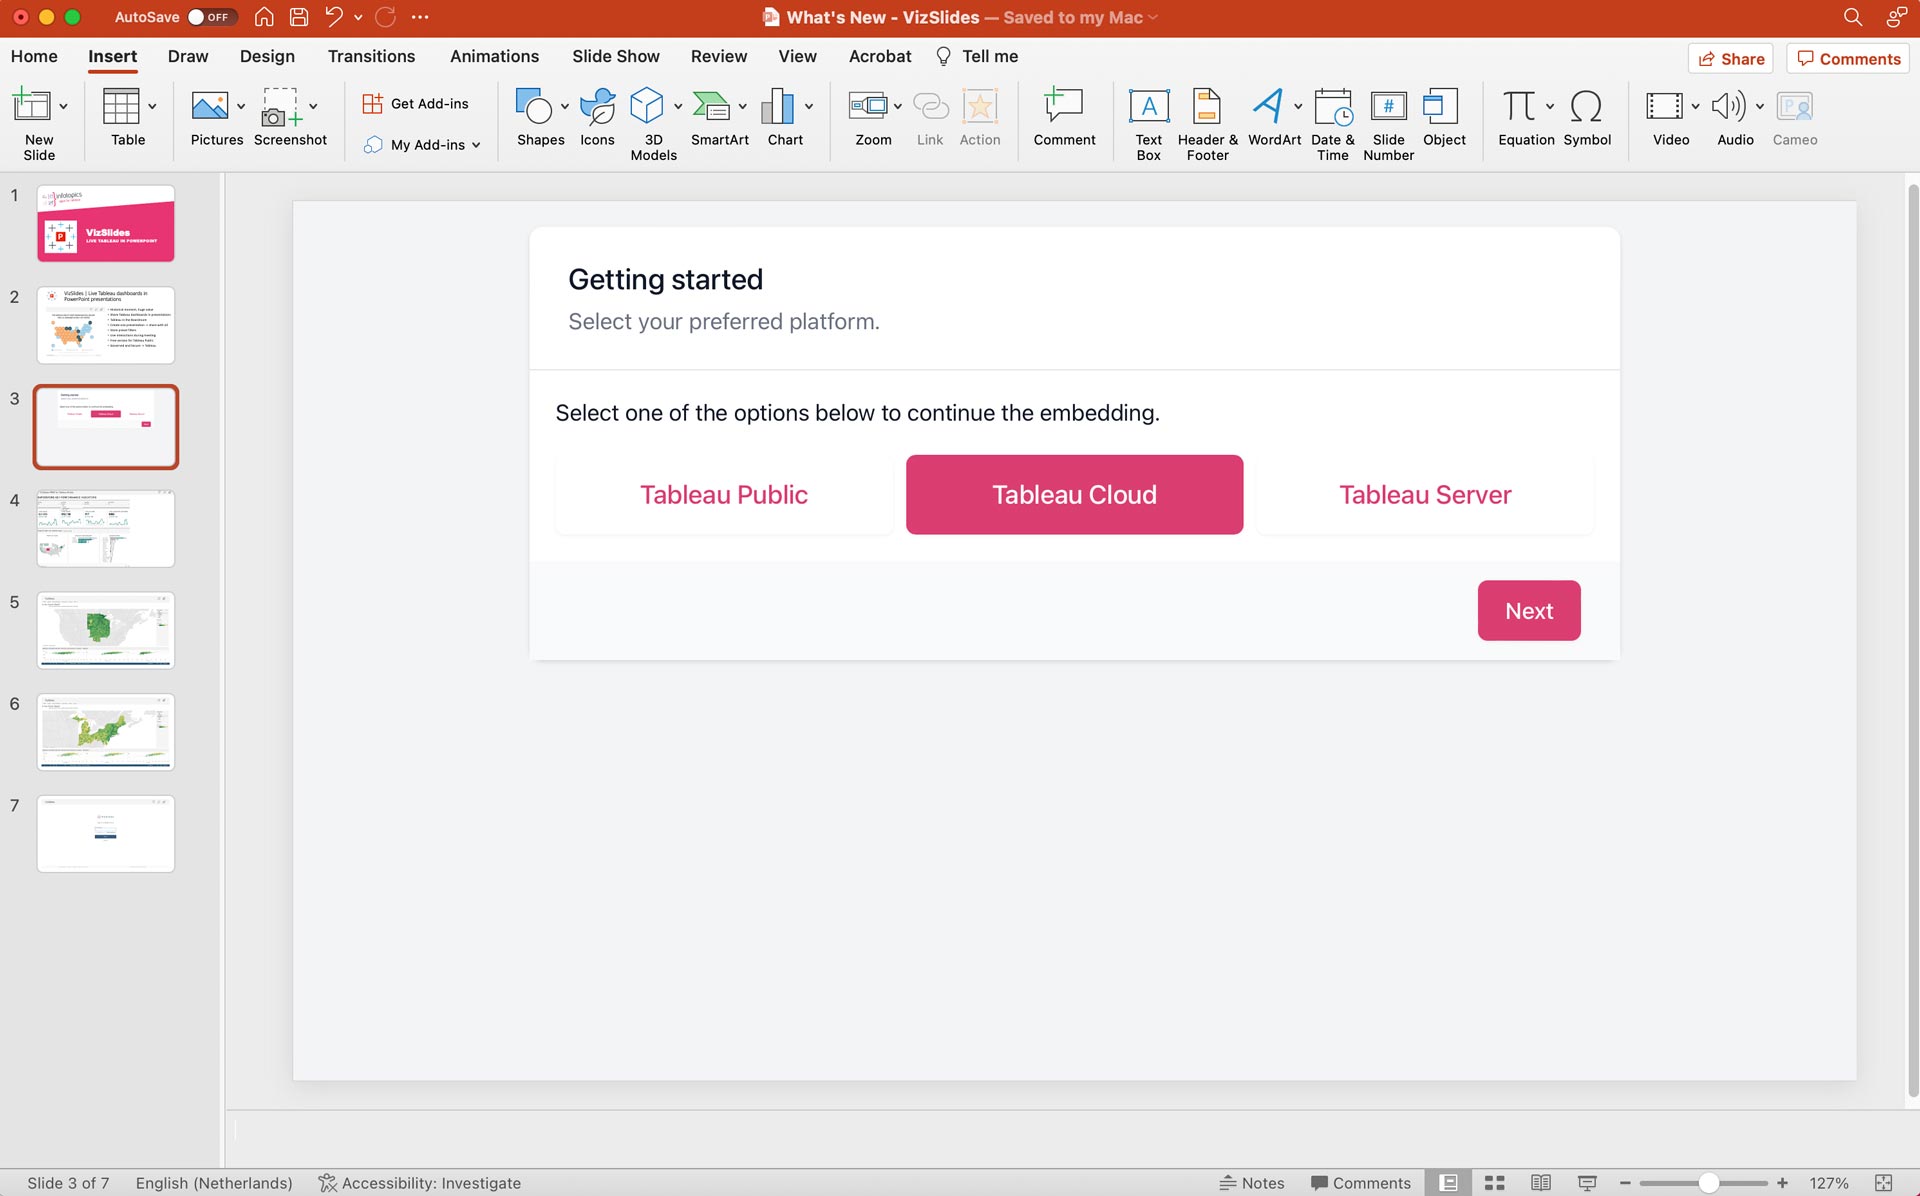
The VizSlides extension allows you to integrate Tableau Dashboards from Tableau Public, Tableau Cloud and Tableau Server. Once you added the add-in to your slide, you can select which Tableau deployment you want to embed in your presentation. The whole process is wizard based and will guide you through the process.
[](https://appsfortableau.infotopics.com/wp-content/uploads/2022/11/VBizSlides-Select-Tableau-Platform.jpg)
### Paste the “Share” link of your Tableau Dashboard
Once you made your choice from what Tableau platform you want to embed, just paste the Share link of the dashboard you want to embed.
The ‘Share’ link can be found by opening the dashboard in your browser and click the ‘share’ button in the upper right corner of your dashboard. The ‘share’ option is available on Tableau Public, Tableau Cloud and Tableau Server.
Once you pasted the “Share” link the add-in will analyze it and prepare it for the final embedding of your dashboard.
It is possible to add parameters to the share url. For example to filter on a country when the dashboard loads. You can do this by adding \&Dimension=Value to the parameter like \&Country=Germany. Use the & sign to add more url parameters.
There is also a list of Tableau parameters you can add to the URL: [here](https://help.tableau.com/current/pro/desktop/en-us/embed_list.htm).
You can scroll down to see the result but it is not necessary, you can click “Finish” to complete the embedding of your Tableau Dashboard in PowerPoint.
---
# Agent Instructions
This documentation is published with GitBook. GitBook is the documentation platform designed so that both humans and AI agents can read, navigate, and reason over technical content effectively. Learn more at gitbook.com.
## Querying This Documentation
If you need additional information that is not directly available in this page, you can query the documentation by asking a question.
Perform an HTTP GET request on the following URL with the `ask` and `goal` query parameters:
```
GET https://docs.infotopics.com/vizslides/product-guide/getting-started-with-vizslides.md?ask=&goal=
```
`ask` is the immediate question: it should be specific, self-contained, and written in natural language.
`goal` is what the user is ultimately trying to achieve, the reason they need the answer. Sharing it helps GitBook give you a better, more relevant answer. A goal is most helpful when it describes the outcome the user wants rather than restating the question. For example, with `ask=how do I create an API token`, a goal like `automate deployments from our CI pipeline` lets GitBook tailor the answer to that use case.
The response will contain a direct answer to the question and relevant excerpts and sources from the documentation.
Use this mechanism when the answer is not explicitly present in the current page, you need clarification or additional context, or you want to retrieve related documentation sections.